-1.png?height=120&name=Polyprint%20Logo%20(Dark)-1.png)
A step-by-step guide on how to combine screen and digital printing. Perform this hybrid technique with success by using the TexJet printer series.

In order for you to successfully perform the screen and digital mix technique, you must have the following equipment and consumables in your workspace:
Equipment
- TexJet DTG Printer (Compatible models: echo2, shortee2, echo, Plus Advanced)
- Manual screen printing machine
- Specially designed platen for the screen & digital technique
- Adaptors for the arms of the screen printing machine and the dtg printer
- Screen with the stencil design
- Oven Dryer
- Optional: Flash Dryer
Consumables
- White screen paste (preferably compatible with wet-on-wet technique) & its accompanying auxiliaries (i.e catalysts)
- Squeegee
- Fabric glue
Note: Polyprint recommend using the Eptainks Texilac E-LF Extra White screen ink with Texilac Ritardante and Ecotex Fix 50.
Screen & Digital process for dark and black colored garments
Step 1. Screen Exposure (Optional)
Print the desired design on a transparent film by choosing the “Hybrid Screen for DTG” print mode in the Digital Factory RIP software. This will be used to create the stencil that will end up on your screen.
Note: The recommended mesh sizes (in mm) range from 44-77, in accordance to Eptainks Texilac E-LF Extra White screen ink.
Step 2. Equipment assembly
Place the adaptors on the arms of the screen printing machine and adjust them.
Proceed on mounting the special platen on the printer.
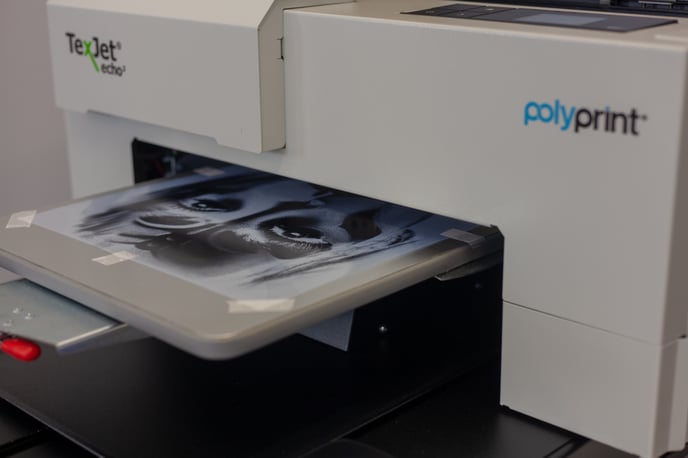
Place a paper or light-colored fabric on the platen and secure it in place with tape or fabric glue.
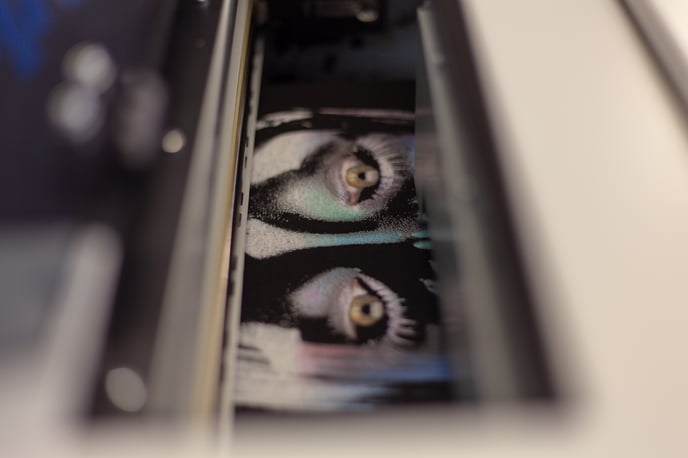
Print the design in the exact dimensions as your stencil, only in CMYK colors, though the RIP software.
Remove the platen of the printer with the media intact on it and transfer it on the screen printing machine.

Place the screen on top of the printed design and adjust it in order to achieve flawless registration.
Step 3. Screen Printing
Prepare your white screen paste by mixing it. Depending on the paste, solvents may be required in order to have the right consistency. If this is the case, don’t forget to add them.
Remove the media from the platen and spray the platen with fabric glue. By doing this, the fabric you will print upon, sticks to the surface and the chance of moving during printing is eliminated.
Place the fabric of your choice on the platen. Make adjustments by pressing and stretching it, in order to maintain the surface flat.
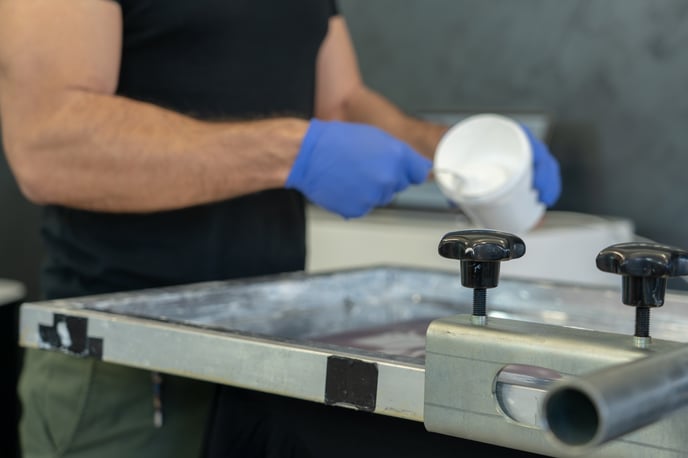
Place the screen on top of the fabric. Apply the white paste in the stenciled area and with the help of a squeegee spread it evenly. This tool presses the paste through the open areas of the stencil, imprinting the design on the garment underneath. Once you finished, remove the screen.
Note: Depending on the type of the white paste you are using, a drying with a flash dryer might be required.
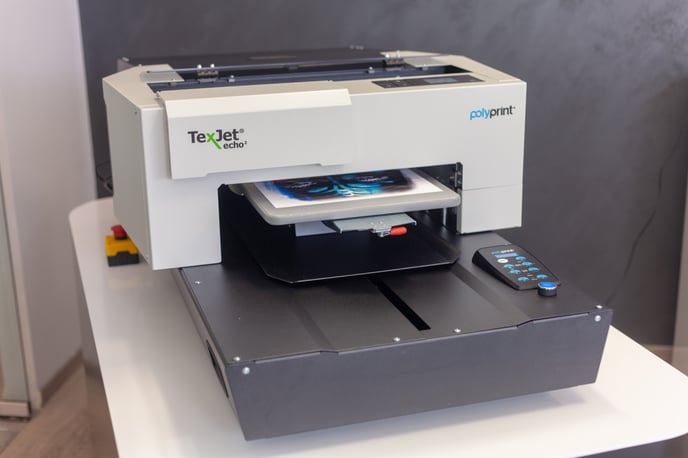
Step 4. Digital Printing
Transfer the platen, carefully without moving the fabric, from the screen printing machine on to the printer and mount it.
Note: If during the transportation the garment moves, then you need to apply more glue during Step 3.
Print the design through the RIP software, using the hybrid print modes:
Available hybrid print modes for TexJet echo2 in DFAPE v10
Available hybrid print modes for Texjet shortee2 in DFAPE v10
Step 5. Print fixation
Remove the garment carefully from the printer's platen.
Use an oven dryer for print curing. Depending on the paste, the fixation time may vary. Usually the recommended time is close to 5 minutes at 170 oC (338F).