-1.png?height=120&name=Polyprint%20Logo%20(Dark)-1.png)
A guide on how to print the same file several times or even print different files on the same template.
Digital Factory Apparel Polyprint Edition software is equipped with various tools that give the user a number of options when it comes to organizing his production. Among those tools, there is one that allows printing multiple images at once. Those images can be the same, for example a company logo or a signature that can be duplicated several times, or different designs placed within the same template. This feature can be proved very useful when the user performs DTF, as the printed images can be cut and transferred on multiple garments.
Different files in the same template
In order to print different designs within the same template, you have to create a Fixed Sheet template. In this template you can move your files throughout the template’s available area, without any restrictions to their placement. You can, also, use this setting to print multiple designs in a single transfer film, cut them and transfer them to different textiles, parts of the same clothing piece, or even store them for future use. Keep in mind, that all the designs have to be printed in the same queue and with the print mode.
To do so, please follow the steps on the guide below:
Template vs Fixed Sheet mode in Digital Factory Apparel Polyprint Edition v10
Same file printed multiple times
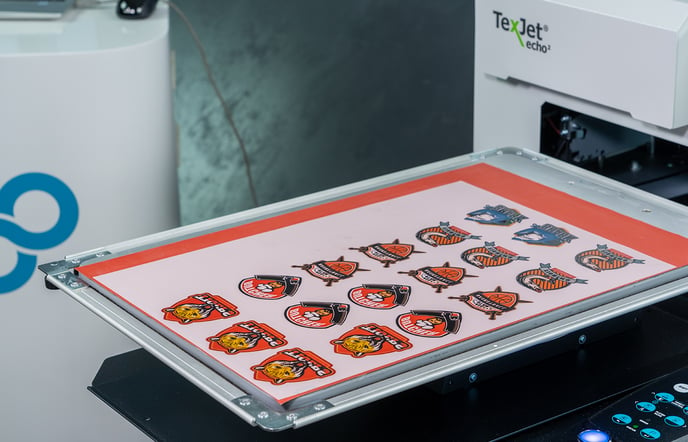
This option is useful in the case of the DTF process, as you can print copies of the same image and then, transfer them to different clothing pieces.
STEP 1
Being on the DTF print queue tab, go to Queue and Page tabs, right below the preview window, and select the template of your choice.
STEP 2
Upload your file and at the Job tab choose the correct print mode, according to the substrate’s color you are going to transfer your designs to. Adjust the file’s dimensions to your liking.
STEP 3
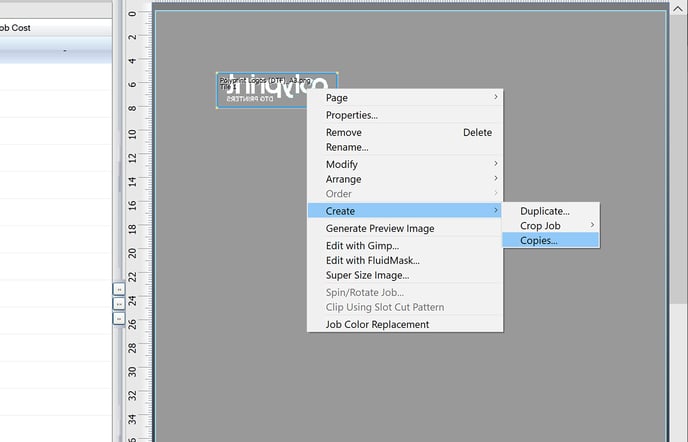 Right-click on the file’s preview. Select Create and then, Copies.
STEP 4
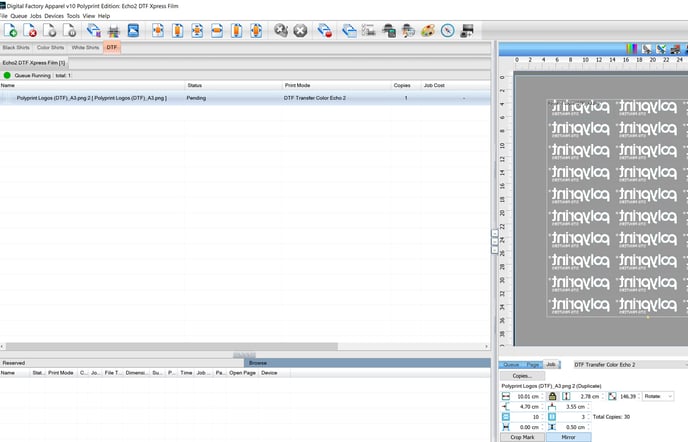 Insert the number of copies you would like to print on rows and columns. Adjust the offset, so you can have some little extra space on your film in its surroundings for handling purposes.
Note: Depending on your file’s dimensions and the template you have chosen to print on, if the number of copies exceeds the template’s margins, then the files will be printed in more than one go.
STEP 5
Now all your files will be printed simultaneously!
Caution: The instructions above apply in the 10.08 version of Cadlink. If you are using a previous version please refer to the steps below:
STEP 1
Select the print queue according to the substrate’s color you are going to transfer your designs to. Change from template mode to Fixed sheet mode.
STEP 2
Upload the file that you want to print and adjust the file’s dimensions from the Job tab.
STEP 3
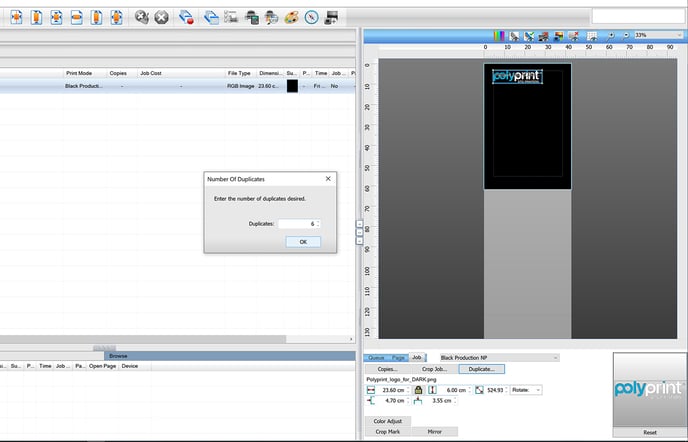 At the Job section, press the Duplicate button to create copies of your file. Insert the number of duplicates that you would like to print.
STEP 4
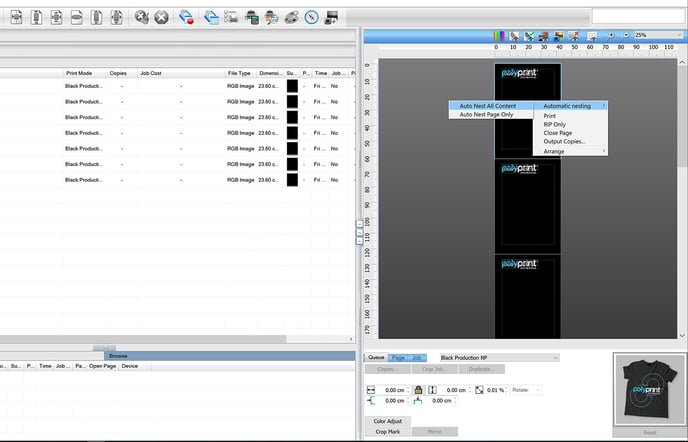 Right-click on the template of the image preview and select Automatic nesting and then, Auto Nest All Content.
STEP 5
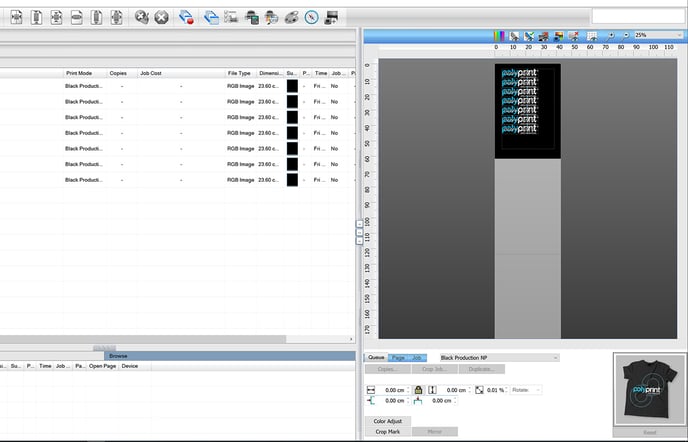 Now all your files will be printed simultaneously!