-1.png?height=120&name=Polyprint%20Logo%20(Dark)-1.png)
Learn how to perform properly the shut down procedure of the PreTreater Pro machine by involving the auto cleaning feature.
Daily Shut Down procedure
STEP 1
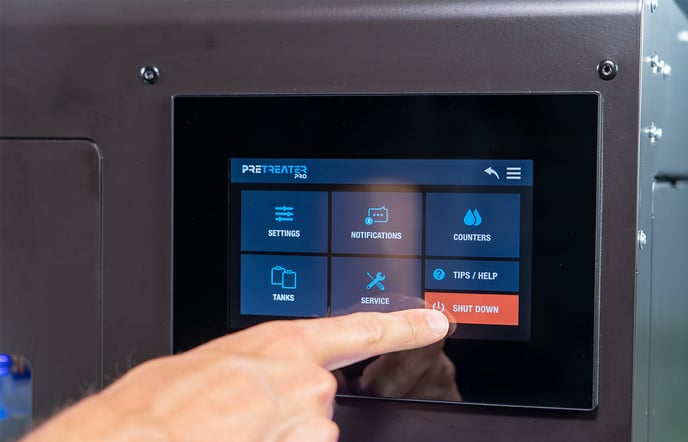 To shut down the machine, tap on the Menu button and next, tap Shut Down.
STEP 2
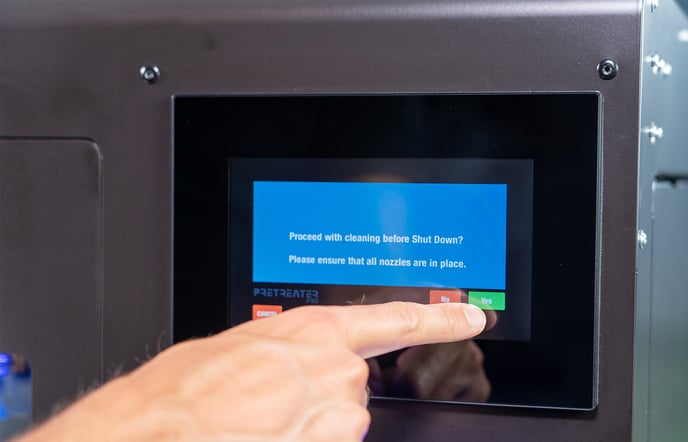
In the prompt message, saying “Proceed with cleaning before Shut Down?” you can either choose Yes or No.
Note: If you choose “No” the machine will shut down without emptying the tubes from the pretreatment liquid that you have been using. We strongly recommend proceeding with an automatic cleaning prior shutting down the machine, as this way the tubes will be filled with cleaning solution, preventing any kind of unwanted clogging or sedimentation.
STEP 3
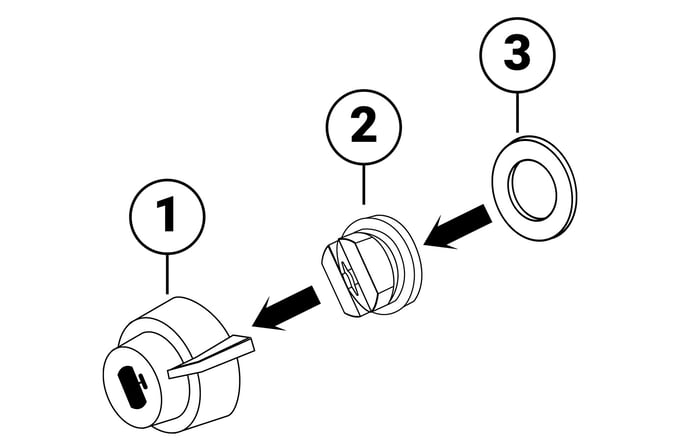 After you perform the cleaning, open the Nozzle Access Cover and pull out the Nozzle Carriage. Remove and disassemble each of the 4 nozzles, following the steps below:
- Turn the nozzle assembly 90 degrees anti-counterclockwise and remove it from the carriage.
- Push the nozzle through the blue nozzle holder. Remove the nozzle and the O ring.
Caution: Remember to leave the Nozzle Access Cover open. If its closed and the screen is on (activated), by default the Nozzle Refresh is activated, meaning that the nozzles will spray every 30 minutes (or the according time you have set).
STEP 4
Fill the ultrasonic device with distilled water and place only the nozzles into the device. Start the cleaning process for about a minute.
Note: If you want to perform manually the Shut Down maintenance you can do it by tapping on the CL tank.