-1.png?height=120&name=Polyprint%20Logo%20(Dark)-1.png)
How to set up a Texjet NG printer after unboxing.
What’s in the box
Inside this box you will find everything you need to get started with your Texjet NG Series Direct to Garment Printer.
Hardware
1x 19” Touch Monitor PC. Embedded PC with Windows ready to run CADlink Digital Factory Apparel
Software & Digital Content
1x USB Flash Drive. CADlink Digital Factory Apparel Polyprint Edition v10. RIP software dongle
1x USB Flash Drive. Polyprint Software Printer Manuals: Installation and Quick User Guides
Cables
1x Power Supply Cable. Power on your printer (EU socket)
Snap-On Platens
1x 34x52cm Snap-On Platen
Miscellaneous
2x Cleaning Swabs. For maintaining printer parts clean (wiper blades, capping station, printheads)
1x Pipette. Easily get cleaning solution into the capping station during maintenance
5x Transparent Films. Sheets of transparent film for checking nozzles and good working order of system
2x Allen wrenches. Two Allen wrenches for fixing the monitor on the bracket
Spare parts
1x Capsule Main Tank Filter
1x Disc Sub Tank Filter
1x Printhead Damper
1x Buffer Tank Air Tube
Monitor assembly

STEP 1
Carefully, unbox the monitor from its package.
STEP 2
Place the monitor to the bracket located already on the printer and align the screw holes.
STEP 3
Tight in place the monitor by using the screw and it’s relative nut that is included within the monitor’s box, with the Allen key No.5, using clockwise direction. Check steps 1 to 3 in the sketch above.
Note: In case of a loose screen, screw clockwise with a No.5 Allen Key and a 10mm Wrench Key the bolt and nut located in the monitor’s holder. Check steps 4 and 5 in the sketch above.
STEP 4
Connect the monitor cables. Place the USB cable (data cable) and the power cable to their assigned port.
Yellow Safety Bars removal
STEP 1
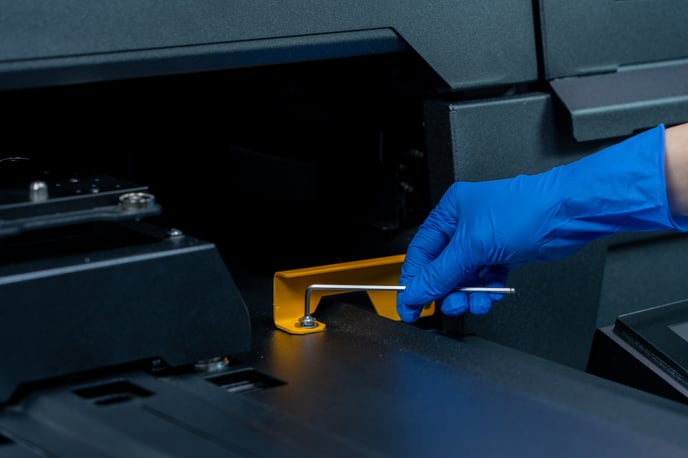 Remove the tower’s yellow safety bar. Use an Allen key No.3 to remove the two screws that hold the bar in place.
STEP 2
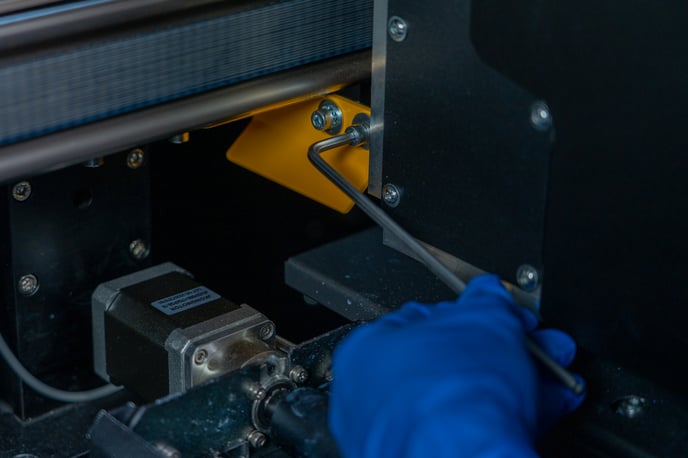 Remove the head carriage’s yellow safety bar. Use an Allen key No.4 to remove the two screws that hold the carriage and the linear guide together.
STEP 3
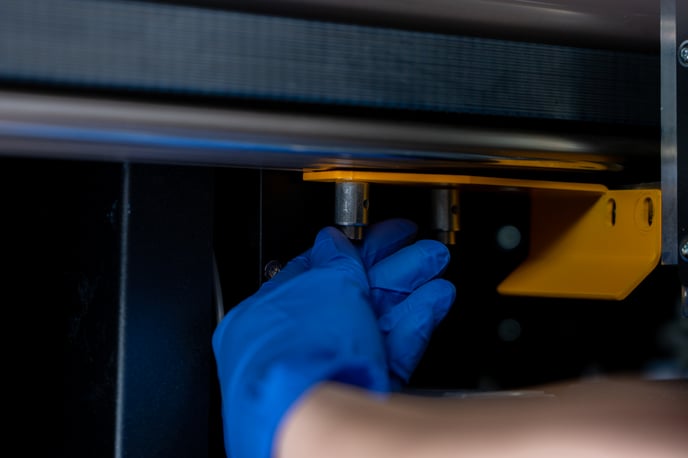 Once the screws are removed, loosen with your hand the other two screws beneath the linear guide and pull away carefully the safety bar.
Note: The two screws should remain on the linear guide as is. Tight them back in place so they do not fall out.
Caution:
- Do not throw the yellow safety bars away, you will need them when transporting the printer.
- Do not move the table tray.
- Do not remove any screws that hold parts of the printer case.
Power ON
STEP 1
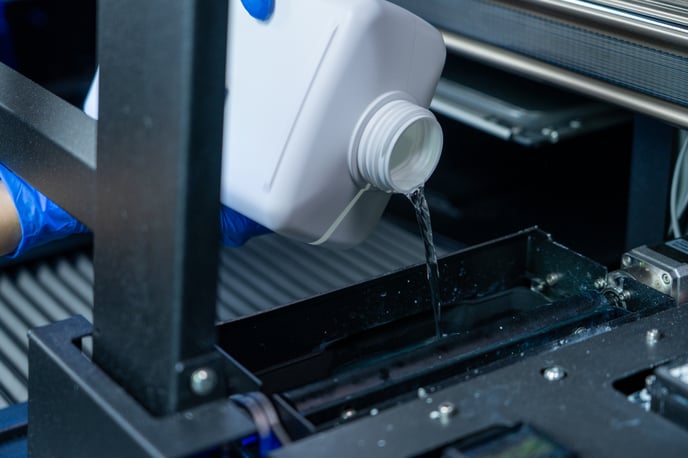 Open the middle front cover and fill the wiper blade tank with distilled water, of approximately 1cm depth.
STEP 2
Close any open printer covers.
STEP 3
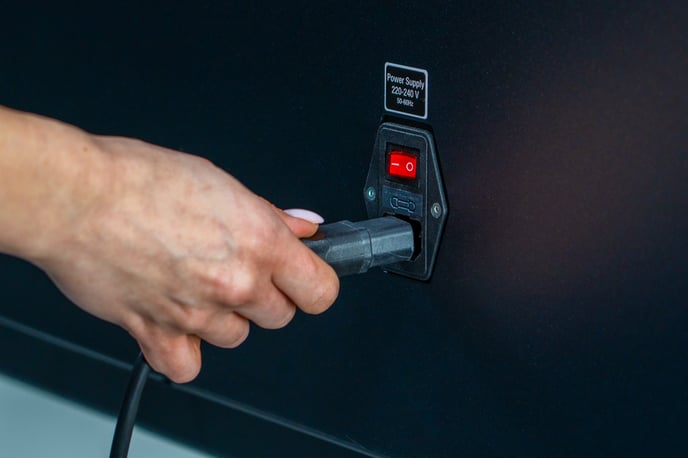 Plug the power supply cable to the machine. The socket is positioned at the back side of the printer.
Warning: The printer must be connected ONLY to a source voltage of 220V. If the available power source is different from the Texjet NG AC rating, do NOT connect it to the power source.
STEP 4
Turn on the red power switch at the back of the printer.