-1.png?height=120&name=Polyprint%20Logo%20(Dark)-1.png)
How to properly power on the printer every day, so you can achieve an uninterrupted workflow. A step-by-step guide that will help you perform the wake-up procedure with ease.
In order to ensure a smooth printer operation at the start of each work day, an exact wake up procedure must be followed. After powering on the printer, written instructions will appear on the Platen Control panel that will give you guidance on how to correctly perform the wake-up procedure:
Step 1
Open the ink cover and remove the ink cartridges.
Step 2
Check the remaining ink on the cartridges. If the ink level is low, you should refill them by following the instructions below:
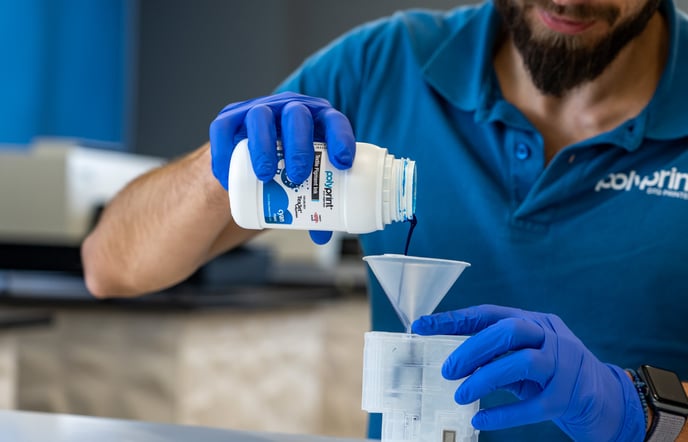
- Shake the ink bottles for 1 minute each.
- Remove the rubber seal from each cartridge and use the funnel provided to fill it with its respective ink. Fill them slowly as each cartridge has many chambers.
Note: Ink level must not exceed the max indication on the cartridge side.
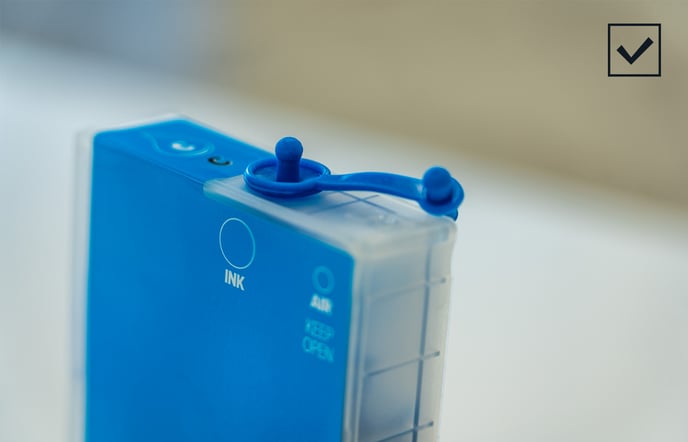
- Put back only the rubber seal that holds the ink. Make sure air supply is not sealed.
- Install cartridges in the correct socket and close the cover. You need to find the proper configuration and make sure they are gripped properly.
Caution: If the cartridges run completely empty, after refilling, use a syringe to remove air from the cartridge filter. Then perform an Ink Charge to remove the air from the ink system tubes.
Step 3
Perform a Head Cleaning. Tap the Settings icon on the Printhead Control panel and choose Maintenance, Print Head Cleaning and Head Cleaning to perform one.
TexJet shortee2: Printhead control panel
Note: After the first cleaning, follow the panel instructions and open-close the cartridge cover.
Step 4
Print a nozzle test to check the printhead’s condition. Position one of the transparent nozzle sheets at the top left corner of the standard shortee2 platen. Tap the Settings Icon on the Printhead Control panel and choose Maintenance, Print Head Nozzle Check and finally tap Print.
Step 5
 Check the pattern. If there are gaps, (more than 10 missing nozzles in one channel), perform another Head Cleaning.
After the correct execution of the above steps, the printer is ready for use.