-1.png?height=120&name=Polyprint%20Logo%20(Dark)-1.png)
A step-by-step guide for successfully curing the pretreatment liquid when using an oven dryer.
The pretreatment liquid must be dried, in order an invisible film can be created, so the inks may lay upon it and be fixated. When using an oven dryer to cure the pretreatment liquid, it is possible that the vertical fibers won't be held down, due to lack of pressure. This may result in an uneven surface. For that reason, it is suggested to press the fabric in the heat press for a few seconds (about 5 sec) prior to pretreating, in order for the fibers to be pressed and have an even surface.
Steps for drying the pretreatment liquid when using a tunnel dryer:
Step 1
Make sure that your workspace is properly ventilated. The drying of the pretreatment will cause the release of vapor which contain volatile chemicals. The use of a protective mask is suggested.
Step 2
Set your oven dryer to the right temperature and time. Those parameters can vary depending on the solution itself, the type and thickness of the fabric that you choose to print on.
Step 3
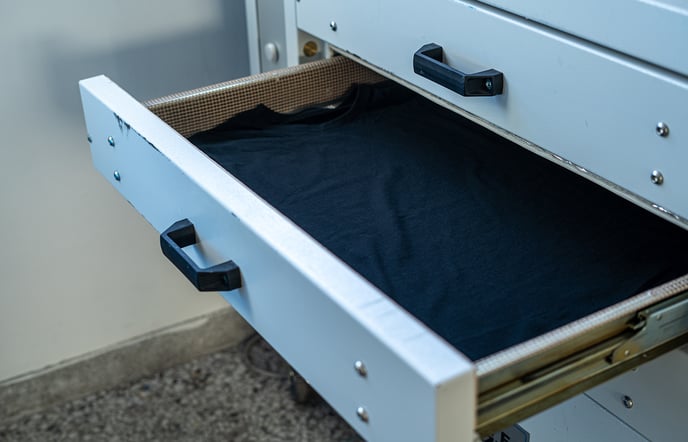
Lay your garment on the heat drawer with caution and make sure that the fabric is not folded. You can cure up to one garment per drawer, depending on the drawer capacity. If you do so, make sure that the garment areas that you want to cure do not overlap.
Step 4
Proceed to cure the fabric in the temperature and time that is suggested for each corresponding liquid.
Step 5
If the fabric is still wet, cure it for a few more seconds until it is dry. This means you have either applied too much pretreatment or your tunnel dryer in not properly removing the excess moisture.
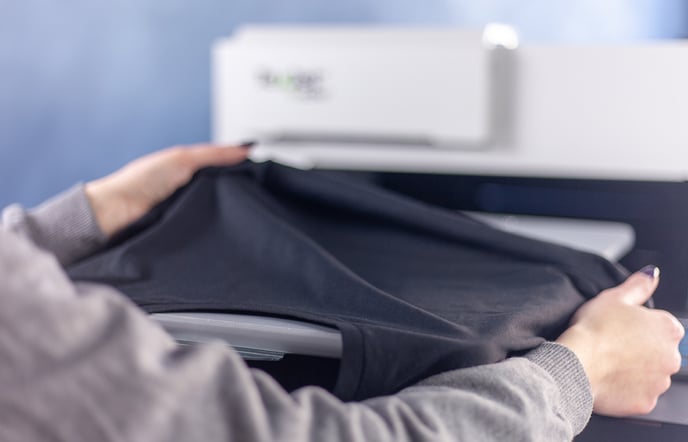
Step 6 (Optional)
The pretreated area, when cured in an oven, results in a more rough feeling to the touch, as the fibers are not pressed down. For this reason, it is recommended to press the fabric for 5-10 secs in a heatpress, so a smooth area can be created which is ideal for dtg printing.
Step 7
Remove the fabric from the heat drawer and place it on your desirable printer platen to be printed. Follow the basic printing process with Digital Factory Apparel Polyprint Edition v10
Tip: Learn the curing parameters used for Polyprint's Texjet Inks product range: Inks & Pretreatment Liquids: Fixation times and temperatures