-1.png?height=120&name=Polyprint%20Logo%20(Dark)-1.png)
A complete guide on how to successfully use the Direct-to-Film printing technique. Instructions for film and powder application, RIP parameters, curing guidelines, and proper garment transfer.
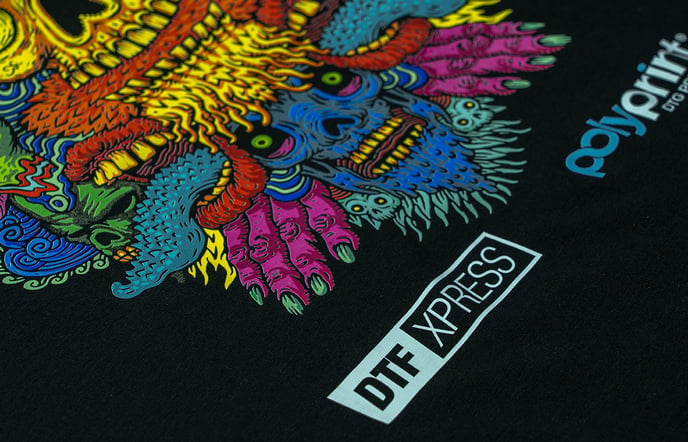
Direct-to-Film printing (DTF) is a process that allows users to print designs directly onto film. The design is then transferred onto a garment with an adhesive, producing within a few minutes a long-lasting, high-quality print. The only thing a user needs is transfer film sheets, an adhesive powder – eliminating the application of a pretreatment liquid, and a heatpress.
TexJet® users can broaden their printing portfolio by printing on nylon, dark polyester, polyblends and more without changing printers, ink type or RIP software. In addition, they are able to pre-print their designs on film and stock them for later.
In order to print successfully DTF designs, follow the steps below:
Notes:
- The DTF Xpress film and powder is compatible with the Polyprint inks powered by DuPont and the new Texjet Inks series.
- In order to use the newly released DTF print modes you must update your printer driver in Cadlink DFAPE v10 software. DTF is compatible with TexJet echo2, TexJet shortee2 and older models running Cadlink Digital Factory Apparel v10 Polyprint Edition.
How to update your drivers: How to get the latest updates in Digital Factory Apparel Polyprint Edition v10
TexJet DTG printer: DTF Xpress film placement
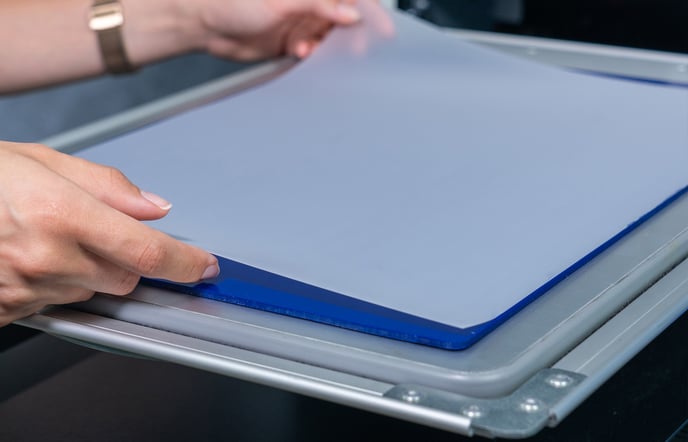
STEP 1
 Place the DTF Xpress Antislip pad on the printer platen.
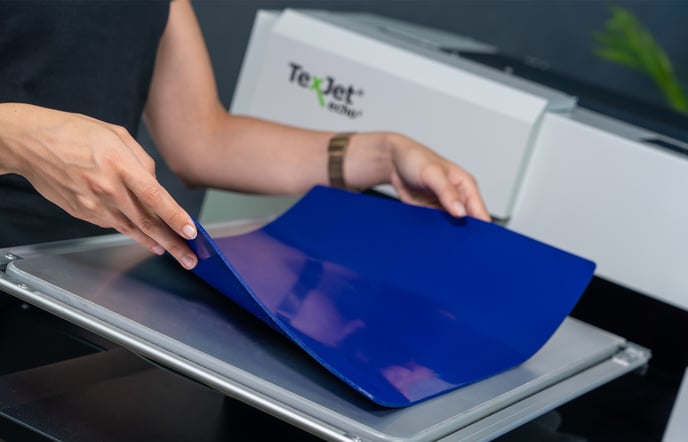
STEP 2
Place on top, the DTF Xpress Transfer film on the platen with the matte side facing upwards.
Notes:
- The DTF Xpress Antislip pad keeps the film flat and steady. If your platen, though, is not cleaned properly, the Antislip pad may move during printing. For that reason, you can clean with Isopropyl Alcohol (IPA) both sides of the pad, plus your platen surface.
- If you are not equipped with the Antislip pad, then, you can use tape to secure the film in place.
STEP 3
Perform the Auto Height Adjustment process, in order your design to be printed with precision and sharp details.
Digital Factory Apparel Polyprint Edition: DTF printing guide
STEP 1
Upload your design in the DTF print queue and make the adjustments of your choice.
STEP 2
Select one of the DTF Transfer print modes, according to the substrate's color you will be transferring to, and your image will be automatically mirrored (since it's going to be transferred to a t-shirt later).
Tips:
- For CMYK solid designs, a white layer isn’t necessary. A 10% white ink layer could be added when there are gradients present or the user wants a truer representation of the design (depths, shadows, color fidelity, etc.).
- If printing on dark polyester or heavy weave garments, increase up to 50% the white underbase. Highly recommend using the 2p High mode, so the color and white don’t mix and have adequate time to dry, so no bleed occurs. Check our guide for printing DTF on synthetics here.
STEP 3
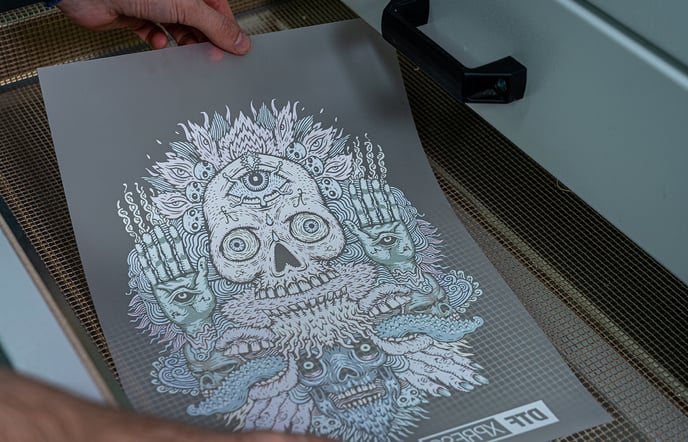
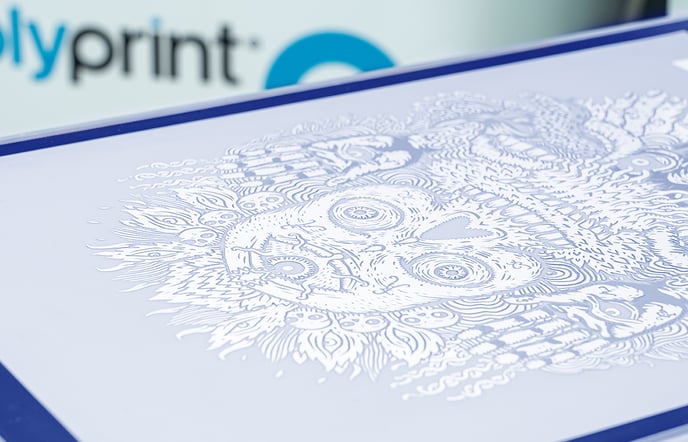 Print your design on the DTF Xpress transfer film. CMYK colors are going to be printed first and then the white underbase will follow.
DTF Xpress adhesive powder: Application & Activation
STEP 1
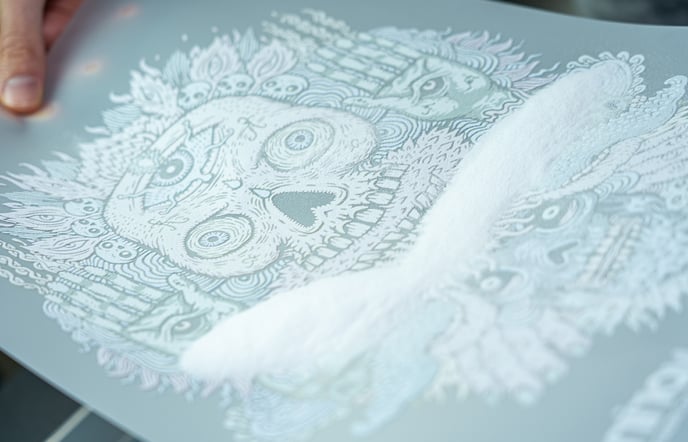
Once printing has finished, carefully lift the printed DTF Xpress transfer film.
Caution: As the inks are not dry, tilting the film will cause the ink to run. Keep the printed surface as leveled as possible.
STEP 2
Place the printed DTF Xpress transfer film facing upwards, in a sufficiently big container, so it remains flat.
STEP 3
 Apply the DTF Xpress adhesive powder on the printed area of the film. Distribute the powder as evenly as possible to obtain the desired coverage.
Note: If the powder has formed small pellets, smooth them out inside the powder container. If one of those small pellets reaches the inks it may cause uniformity issues.
STEP 4
Shake off the excess powder and flick the sheet hard so all particles are dusted away.
Tip: The excess DTF Xpress adhesive powder can be reused, so store it again in its container. If small particles have been dyed from the inks discard them and save only the clean powder.
STEP 5
Lift the DTF Xpress transfer film and proceed to activate the DTF Xpress adhesive powder.
Caution: Do not touch the printed surface and again, try not to bend the film.
STEP 6
 “Bake” the film to melt the DTF Xpress adhesive powder, using a heat press or an oven dryer. You can opt between to alternatives:
- Cure for 60 seconds at 160oC (320F) using the oven dryer.
- Cure for 150-180 seconds at 160oC (320F) using the heatpress hover option.
Tip: The aforementioned times are sufficient for a 28x28cm design. If your file has larger dimensions then proceed on curing for further amount of time, like 90 seconds in the oven and 4 minutes in hover. This way, the powder melts sufficiently all over the print and the water from the inks evaporates, eliminating humidity spots.
Caution: When using a heat press you must hover over the film and not pressed it, otherwise you will ruin the whole process. The press' plates should have about 1cm (0.4 inch) width, so heat loss is avoided.
DTF print: Transfer the print to the garment
STEP 1
Press the garment for 5 seconds, so it flattens out and humidity from the fibers evaporates.
STEP 2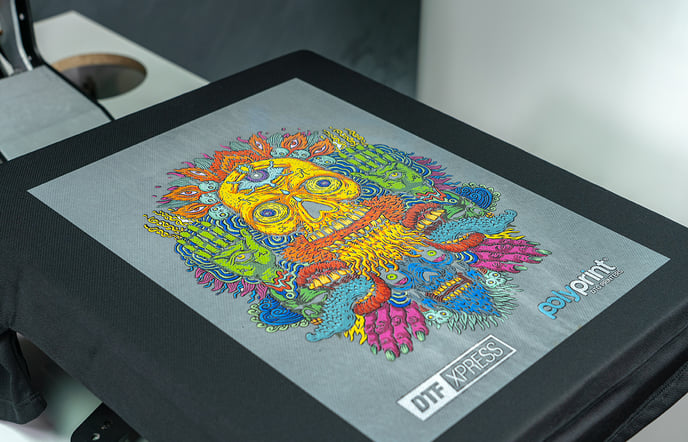 Place the “baked” DTF Xpress transfer film with the printed side facing downwards over the garment and transfer it using heavy pressure.
Press for 10-15 seconds at 160oC (320F), at medium to heavy pressure.
Caution: Cover the film with protection paper prior pressing it.
Tip: Depending on the fabric and its dye, different combinations of transfer temperature and transfer time could be applied. Take a look at our guide here: How to perform the DTF method on synthetics
STEP 3
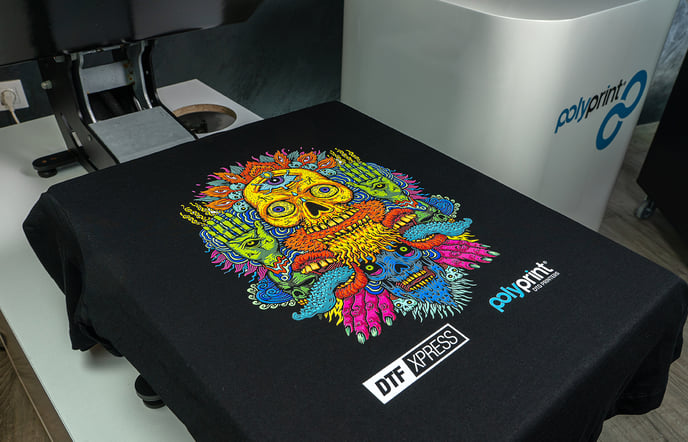 Allow at least 20 seconds for the garment to cool down, before peeling the DTF Xpress transfer film off.
STEP 4
If after peeling the film there is some leftover powder on the perimeter of the design, repress the design for additional 10-20 seconds, so it can melt away. Use a protective sheet paper.
Tip: DTF is a time saving technique as you can print your designs on the film and store them for future use. This way, you can transfer the print on a garment later on, depending on your production and customer needs. For best results, though, we recommend on transferring the print within two weeks time.