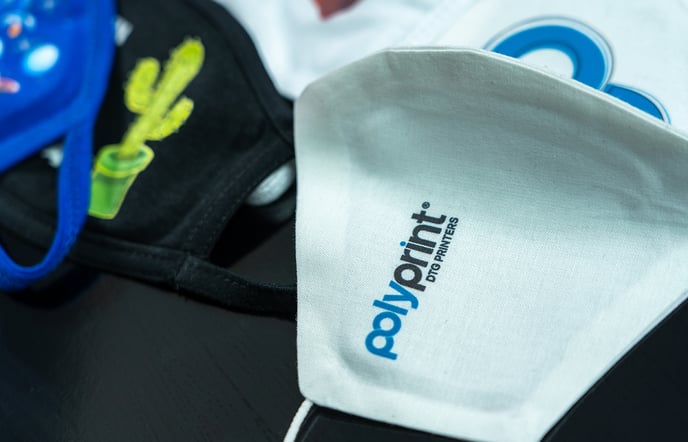
A step-by-step guide on how to properly print on both flat and fit face masks with the use of TexJet printers.
Face masks have become a necessity in our everyday life, as a mandatory health measure. Due to constant wear, one can realize their potential of becoming a stylish accessory. DTG technology can help transform any face mask into a fashion statement piece that can contribute to enriching your whole outfit and making your appearance stand out. Apart from custom and personalized options, with dtg printing you can also create face masks with logos, watermarks and signatures that often are part of a business or school uniform.

TexJet Printer: Mask platen installation
Step 1
The Polyprint Mask Platen offers two options depending on the shape of the face mask. If you want to print on a flat mask, then you should choose the plates for the flat type mask. If you opt for fit face mask printing, select the plates for the fit type mask.
Caution:
- The Polyprint Mask Platen can be used only with the following printers/firmware:
- TexJet echo2 with Serial Numbers xxxxHHExxxx and firmware 1.5.05 or later.
- TexJet echo2 with Serial Numbers xxxxHFExxxx or xxxxHGExxxx and firmware 2.5 or later.
- TexJet shortee2 with firmware 1.5.05 or later.
- TexJet echo with Serial Numbers xxxxEBExxxx, xxxxFBExxxx , xxxxGCExxxx, xxxxGDExxxx, xxxxGEExxxx
- The Polyprint Mask Platen is compatible only with the Digital Factory Apparel Polyprint Edition software.
How to get the latest updates in Digital Factory Apparel Polyprint Edition v10
Notes:
- For TexJet echo units please contact Polyprint Customer-Success team to book a meeting and adjust the settings of your printer.
- For information about how to update the firmware please contact your local supplier or Polyprint Customer Success Team
Step 2
Mount the main platen onto the printer’s tower. The indicatory arrows should point in the printer direction. After you selected the suitable plates according to the mask’s shape, screw them on the main platen using an allen wrench 2.5 mm.
Note: Be attentive to the placement of the fit mask plates. Their orientation should be exactly as indicated on the sticker of the main platen.
Step 3
Place the face mask(s) on the plate and make adjustments in order to ensure their proper position, then carefully place the respective frame that will keep the fabric secured.
Digital Factory Apparel Polyprint Edition: Face mask printing guide
Step 1
Select the suitable mask template for your plate shape from the Queue tab.
Step 2
Import your design and position it on the template. Right click on the image (at the print queue) and select Clip Using Slot Cut Pattern, so the image doesn’t exceed the limits of the mask plate.
Note: If the image was not cropped properly, you will need to import the image again.
Step 3
Start printing and enjoy the process!
Step 4
Proceed to cure the print using a heat press or an oven dryer.
Inks & Pretreatment Liquids: Fixation times and temperatures
-1.png?height=120&name=Polyprint%20Logo%20(Dark)-1.png)