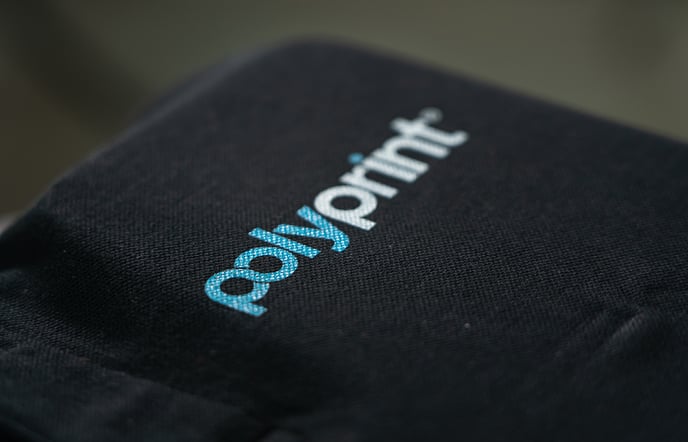
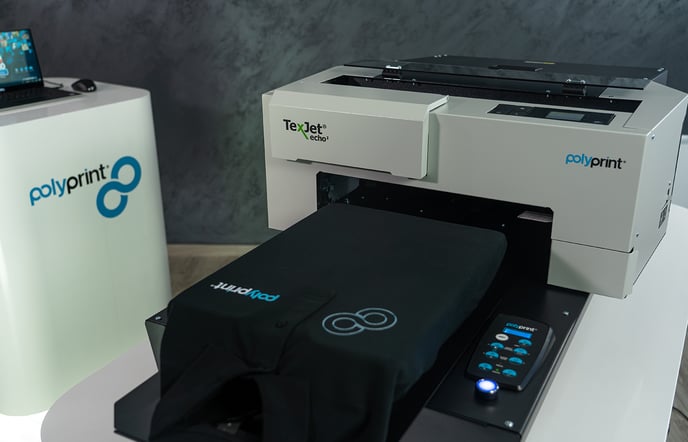
A step-by-step guide on printing directly on Polo shirts by using TexJet series printers.
The Polo shirt with its classic button-down collar is a simple but timeless piece of clothing. As an alternative to the traditional t-shirt, it’s an item that you can wear to any occasion by easily dressing it up or down. It also has a distinct place in the business industry, as it is common to see company employees wear it with a respective company logo printed.

Digital printing has a wide range of applications, one of them being Polos shirts. By utilizing the benefits than this technology offers, you are able to produce custom Polo shirts printed with unique artwork that will stand out and make a fashion statement.
In order to print on Polo shirts successfully, follow the steps below:
Step 1
Mount the suitable platen on the printer, in accordance with the dimensions of the fabric and the design that you want to print.
Tips:
- Usually the platens that come in handy when printing logos on Polos are the 14x30 cm (5.5"x11.8") and the 15x15 cm (5.9"x5.9") platens.
- If you want to print on both chest areas (antidiametrically of the buttons) or all over the fabric, then you can opt for the 30x43 cm (11.8"x16.9") platen which is specifically made for printing on Polo shirts. Wear the shirt with the collar facing your way and tack the collar in the platen’s cavity.
Step 2
Wear the fabric on the platen and tuck the excess fabric underneath. Make adjustments by pressing the fabric on the platen in order to keep the surface flattened.
Step 3
Select the design you want though the RIP software. Make sure that you choose the suitable template for your selected platen size and that you have turned upside down the design in order for it to be printed in the right direction.
Basic printing process with Digital Factory Apparel Polyprint Edition v10
Tips:
- A Polo’s material is thicker than that of a regular t-shirt; hence it requires an increased amount of ink in order for the print to have sharp edges and high opacity. Especially in the case of pique Polo shirts, where you have an embossed surface, it is suggested to choose a print mode such as Quality, which boosts the ink’s opacity and at the same time increase the white underbase level in case of dark colored shirts.
- If you are printing logos, usually their dimensions ranging from 7 to 10 cm (2.8 to 4 inches). Depending on the logo and the t-shirt size, you can scale up to even 12 to 14 cm (4.7 to 5.5 inches), but this usually works best for oblong logos rather than more rounded ones.
Step 4
Start printing and enjoy the process!
Step 5

When printing is finished, remove the shirt from the platen.
Step 6
Proceed to cure the print using a heat press or an oven dryer.
-1.png?height=120&name=Polyprint%20Logo%20(Dark)-1.png)