-1.png?height=120&name=Polyprint%20Logo%20(Dark)-1.png)
A step-by-step guide on how to print your digital files successfully with Polyprint’s RIP software.
Opening the Digital Factory Apparel Polyprint Edition, a centralized hub appears that supports multiple print queues and is equipped with various settings. This way the user is offered a multitude of options on how to transform its desired pattern and give it a personalized appearance that will make the print stand out.
The basic printing process consists of some simple yet important steps for your print to be of excellent printing quality. Those steps are described below:
STEP 1
If you are printing DTG, depending on the substrate’s color, the corresponding print queue (White, Color, Black Shirt tabs) must be selected. If you printing on film then you should upload your design in the DTF queue.
Note: When printing DTG on black garments the Black queue is the one that must be chosen, as it removes, by default, any black elements in the design. This results in zero black and white ink waste; plus, the print has a softer feel, as less ink is being printed. The black element spectrum (hues close to black to be removed) can be adjusted with the Knock me Black Out setting.
STEP 2
Now, it’s time to load the file that is about to be printed. This can be achieved in two ways: By clicking on File and then choosing the Import File option or by tapping on the icon right beneath the File button.
STEP 3

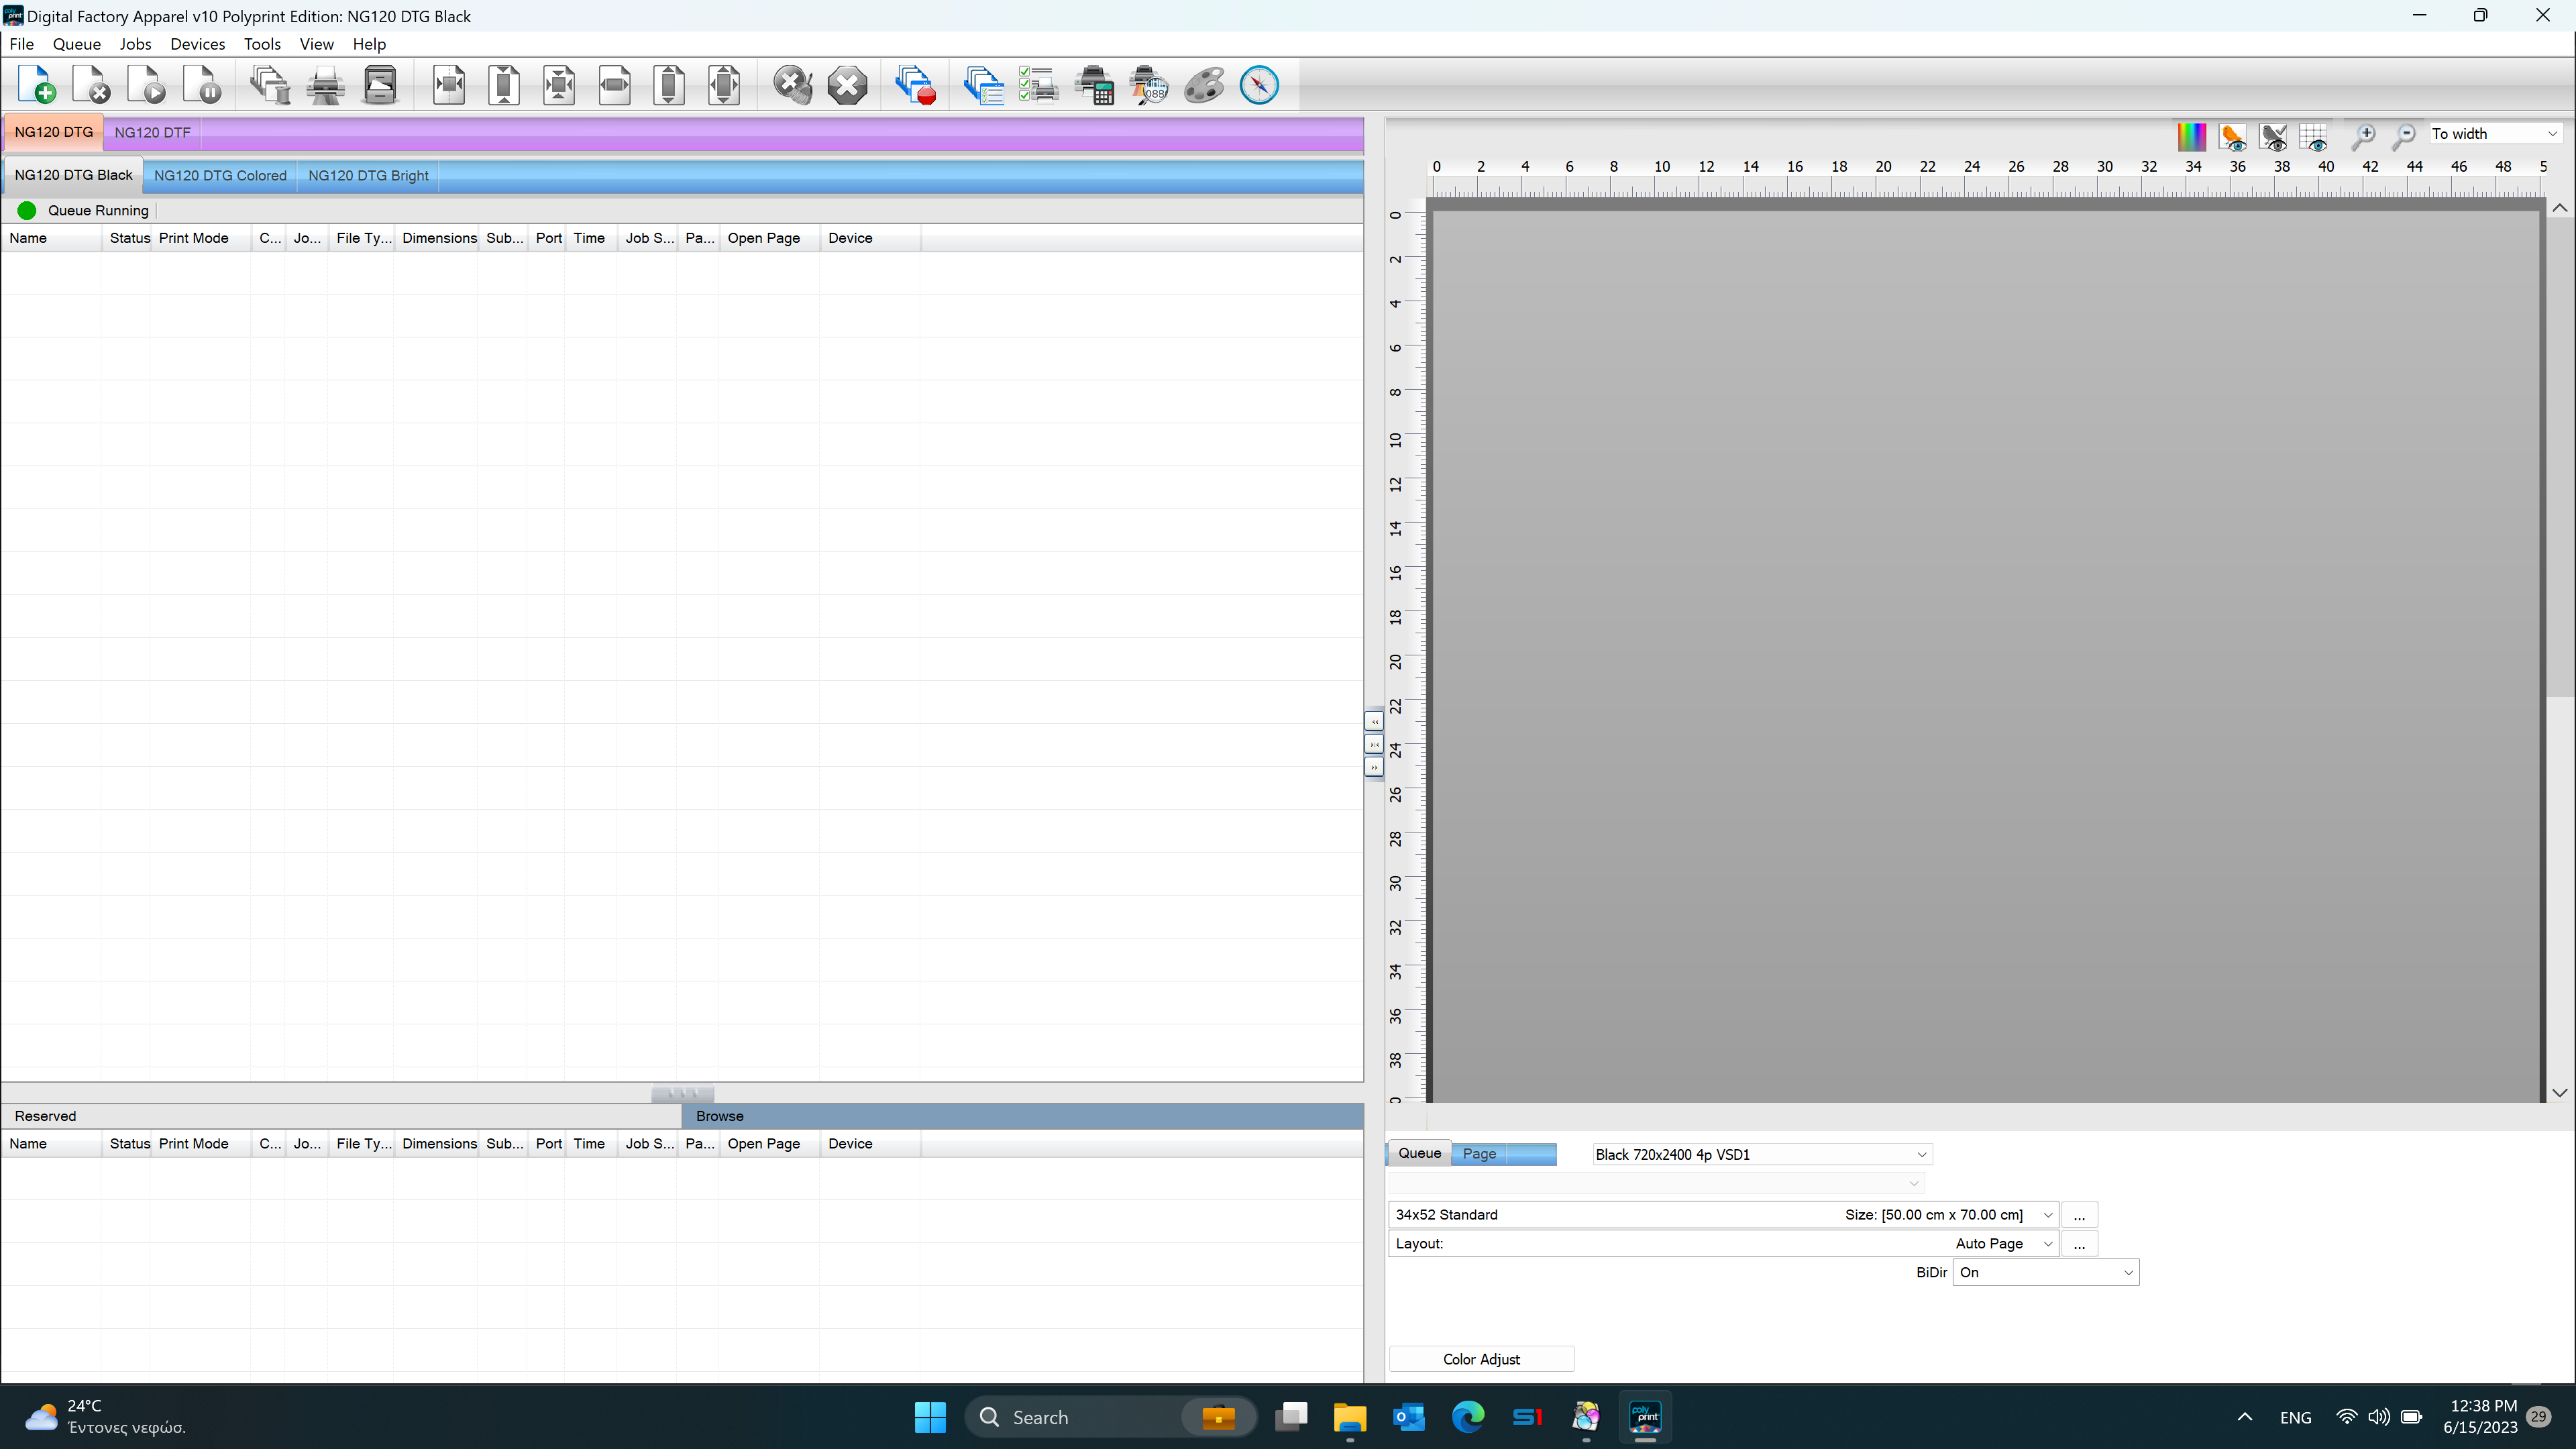
When the digital file is loaded into the RIP, tap on it so the bar becomes blue and for the preview of the design to appear. Below the preview, there is a window which includes Queue, Page, and Job settings.
Queue. In this tab you will find saved all the preconfigured default settings for each corresponding print queue. Meaning, that each time you upload a job, it will be printed according to the appearing settings. Of course, you can change the default settings at any time.
Page. Select the printing template (platen size) according to the dimensions of the image that you want to print. Also, you can select the total times to output a page, meaning how many copies of the job you want to print.
Job. Choose the desired printing mode (resolution) from a variety of options. Adjust the dimensions of the image and its positioning by choosing from the options in the toolbar above the print queues.
Tip: When printing on Color or Black queue, you can tap on the Color Adjust button to adjust the settings of the white underbase. In the Layers option, choose Underbase and adjust the Maximum Ink % and the Choke option for shrinking the white layer in case its exceeding the color layer.
STEP 4
Proceed to printing your image by clicking on the Print Job button in the toolbar or by right clicking on the image and then choosing the Print option.
Note: Make sure you have matched the resolution on Cadlink RIP with the resolution on the Printer Manager software.