-1.png?height=120&name=Polyprint%20Logo%20(Dark)-1.png)
Learn how to operate the Printer Manager software that accompanies the Texjet NG series printers. A guide on the basic functions and features that the user should know during the printer’s operation.
Texjet NG printers series are equipped with the Printer Manager software which is basically an advanced printer driver that includes many useful tools and features about the machine. To initiate printing but to perform other actions as well, like cleanings and adjustments, the Printer Manager software must be always open along CADlink’s Digital Factory RIP printing software.
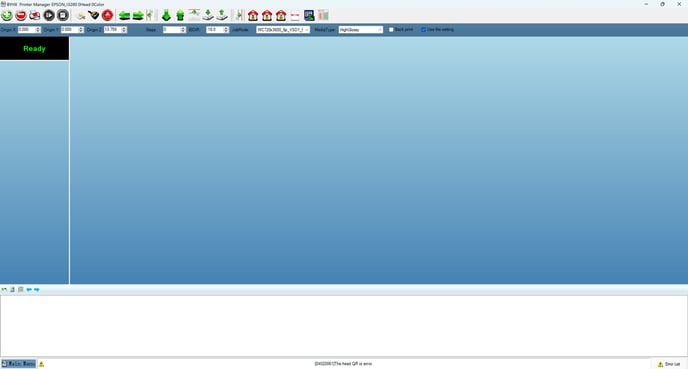
The interface of Printer Manager consists of an Icon’s Toolbar, the Values toolbar, the main section in which the printing area is illustrated and the left side where the status of the printer along with the printing settings are visible. At the bottom there is the Main Menu button which gives entrance to advanced print engine’s parameters.
The basic functions of Printer Manager a user should be aware of are the following:
Nozzle Check. Being the 6th icon on the Icon’s Toolbar allows you to perform a nozzle test pattern to check the condition of the printhead. The nozzle test takes place right above the printer's tower and there is where you must place the transparent sheet.
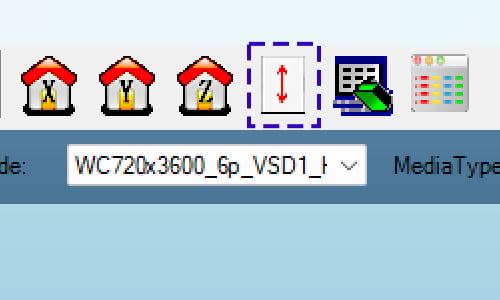
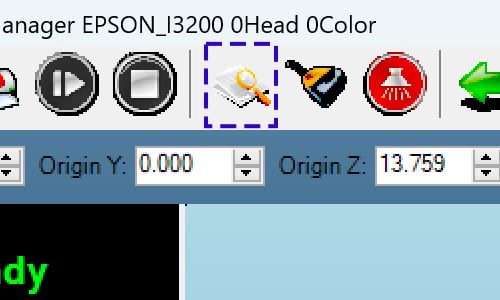
Auto Height Adjustment. It’s the 3rd button from the end on the Icon’s Toolbar and responsible for automatically adjusting the platen’s height for optimal printing according to the media placed.
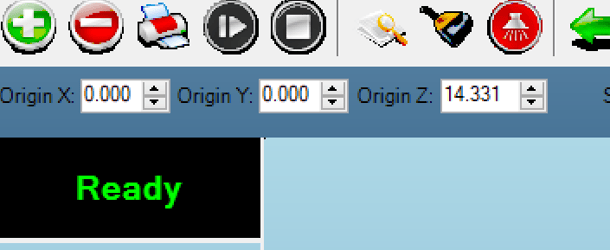
X, Y, Z Values. These are the axes’ origin values for the printing area and height of the platen. The X and Y values should be represented with 0 value. The Z value must not change in any condition.
Note: The default values of X and Y are saved in a Desktop folder, in a file named Adjustment Values.txt.
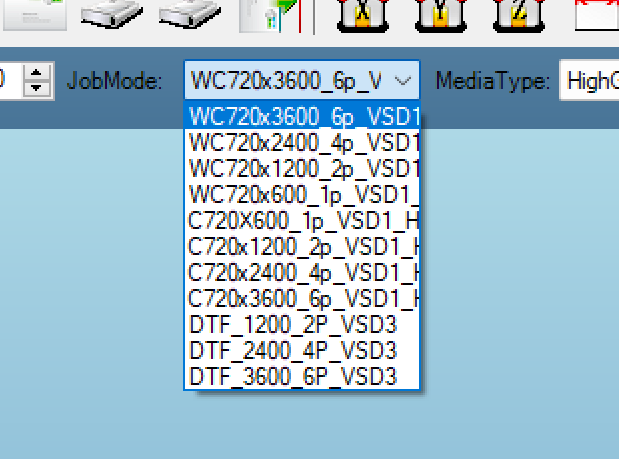
Print Resolution. First comes the inks used - WC or C (White-Color or Color), then the resolution along with the ink passes, followed by the dot size being VSD1 or VSD3 which stand for big and small drop size (the smaller the more precise). Lastly, the HQ marks the High-Quality setting used in all print modes. In case of printing on a film, the DTF indication is marked at the start of the resolution, as reverse printing takes place opposed to DTG printing; hence, a different print mode must be used.
The print resolution should always match the print mode that is selected in the Digital Factory RIP software, so the print job is executed with accurate parameters. So, for example, if you have chosen to print on a black t-shirt using the 2400_4P_VSD1 resolution from Digital Factory then on the Printer Manager the same resolution should be selected, meaning WC720x2400_4P_VSD1_HQ.
Caution: All other tools and features available in the Printer Manager software are strictly for use by professionals. Do not meddle with other settings otherwise told by a Polyprint authorized technician.