-1.png?height=120&name=Polyprint%20Logo%20(Dark)-1.png)
How to print the printheads’ nozzle check pattern on Texjet NG models.
How to perform a Nozzle Check
STEP 1
Place one of the transparent sheets included in the printer's box on the platen exactly above the tower.
Tip: Alternatively, you can print the nozzles' pattern directly onto the platen and wipe it after with some IPA alcohol.
STEP 2
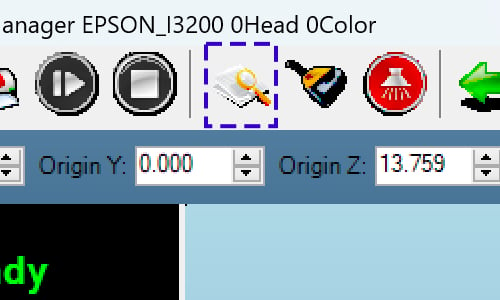
At the Printer Manager software (found on Desktop), press the Auto Height Adjustment button on the icons’ toolbar. On the window that pops-up select Measure Thickness. After the height adjustment is finished, select Yes to move the carriage back to home position. Proceed with pressing OK.
STEP 3.1
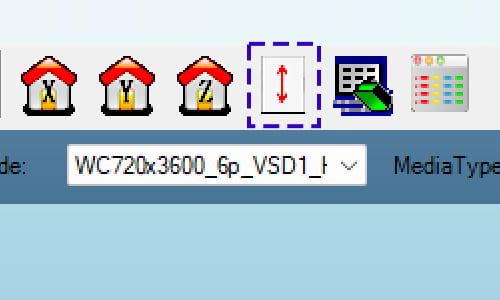
On the icons’ toolbar of the Printer Manager software, press the Nozzle Check button.
STEP 3.2
Another way to print the nozzles' pattern is to press the Nozzle Test button on the NG Keypad.
STEP 4
Press the White LED button on the NG Keypad so the platen goes into printing position.
Notes:
- If the printing is cancelled, due to the height sensors being engaged, repeat step 2 to bring the platen with the sheet on top at the correct distance from the printhead surface.
- Make sure that the transparent sheet is flat and that it doesn’t have uneven edges.
- If White LED Button is ON, tray is not at printing position.
- If the print job is cancelled repeatedly, then contact support at Support | POLYPRINT (polyprintdtg.com) or your local distributor.
STEP 5
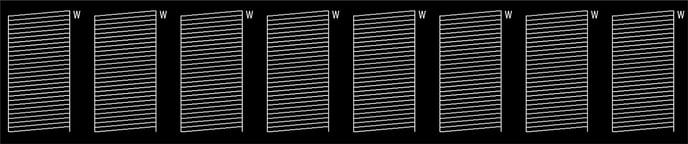
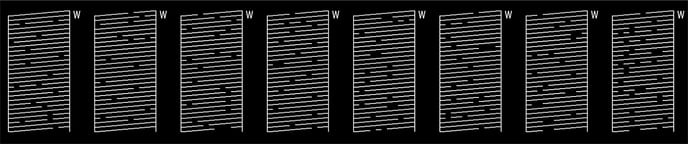
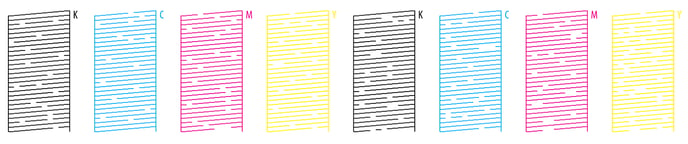
Look at the printed ink channels and check the nozzles. If only a few nozzles are missing per channel, then you can proceed with printing. If there are several gaps in the pattern, run another Weak cleaning cycle. Check the nozzle test again afterwards.
Example of a proper nozzle check:
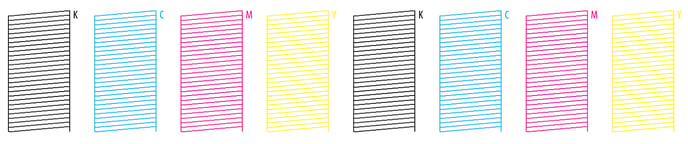
Example of an improper nozzle check:
Note: If you are setting up your NG printer for the first time, then after you complete the Ink Charge process and perform a successful Nozzle Check, connect the CADlink USB drive to the PC. Open the Digital Factory Apparel Polyprint Edition software found on the Desktop to continue with printing.