A detailed process of how to unbox properly and install accurately the TexJet shortee2 printer.
Unboxing the printer
Step 1
Remove the top carton cover of the carton box that contains the printer.
Step 2
Firstly, remove what is included inside the box, secondly the cardboard honeycomb sheets and at the end the side carton cover.
Step 3
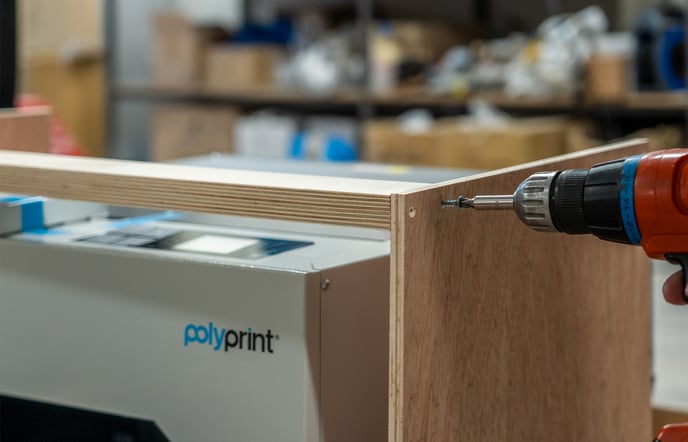
With a standard screwdriver, remove the protective wooden structure.
Step 4
Once the printer is revealed, lift it up by using the handles beneath the TexJet shortee2 Lift it and position it carefully on the suitable chosen surface. It is important to use four people to lift the printer or maybe two strong ones.
Step 5
Printer box. Inside this box you will find a smaller one compartments box, nine labeled and two non-labeled refillable cartridges.
Step 6
Compartments box. Opening out the box, you will find apart from the user manuals the below consumables:1 emergency stop button, 5 funnels, 5 syringes with adaptors, 1 USB software dongle, 1 USB installation drive, 1 power cable, 1 ethernet cable, 1 USB cable, 5 transparent nozzle sheets, 1 pipette and 2 swabs.
In case your source voltage is 110V, then you will receive a power converter as well.
Step 7
Platen box. This box contains the standard 27x40cm (10.6"x15.7") snap on platen and its corresponding frame.
Tip: Place them all on a white surface, so you can later have the chance to double-check them.
Step 8
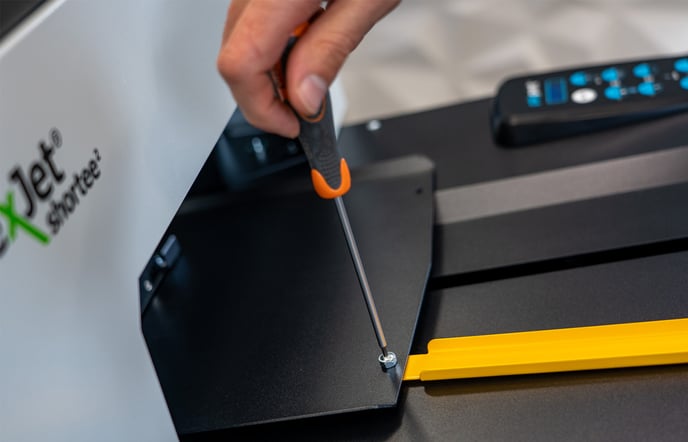
Remove the yellow safety bar and store it at a safe place. First remove the first screw and then just pull out the tower out really slowly. Once you pull out the tower you need to remove the second screw and you’re done.
Note: Remember do not throw the safety bar away. You will need it in case of transporting the printer.
Step 9
After that you will need to remove the blue security tapes from the TexJet shortee2.
Printer Setup
Step 1
Attach the snap on platen on to the TexJet shortee2. Once you do it smoothly, remove the blue security tapes.
Step 2
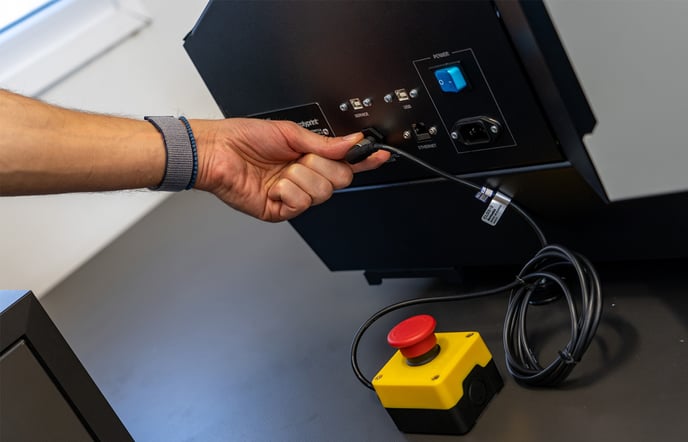
Connect the emergency stop button on the left side of the printer and afterwards the power cord.
Caution: Check that the source voltage is the same as the rated voltage, listed on the SN – Rating plate. If the available power source is different from the TexJet® shortee² AC rating, do not connect it to the power source.
If the source voltage is 110V, you should also connect the power converter you received in the box.
Step 3
Turn on the blue switch at the left side of the printer.
Ink cartridges installation
Step 1
Shake the ink bottles for 1 minute each.
Step 2
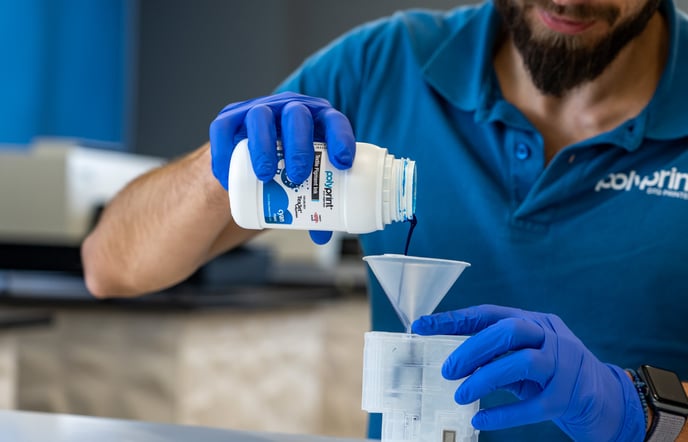
Remove the rubber seal from each cartridge and use the funnel provided to fill it with its respective ink. Fill them slowly as each cartridge has many chambers.
Note: Level must not exceed the max indication on the cartridge side.
Step 3
Put back only the rubber seal that holds the ink. Make sure air supply is not sealed.
Step 4
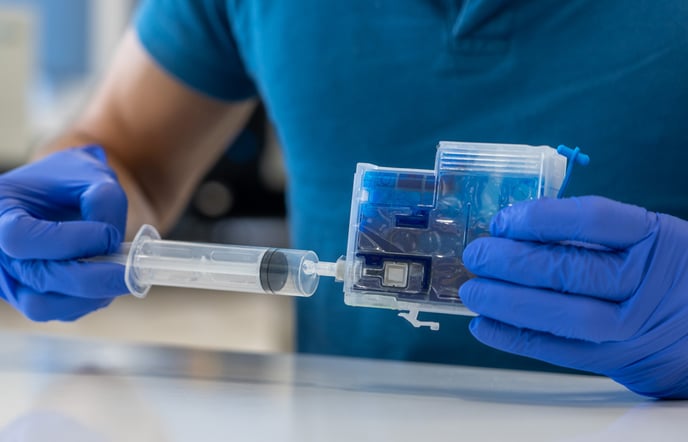
Use a syringe to remove air from the cartridge filter. Pull ink from the cartridge valve until cartridge filter is full of ink.
Step 5
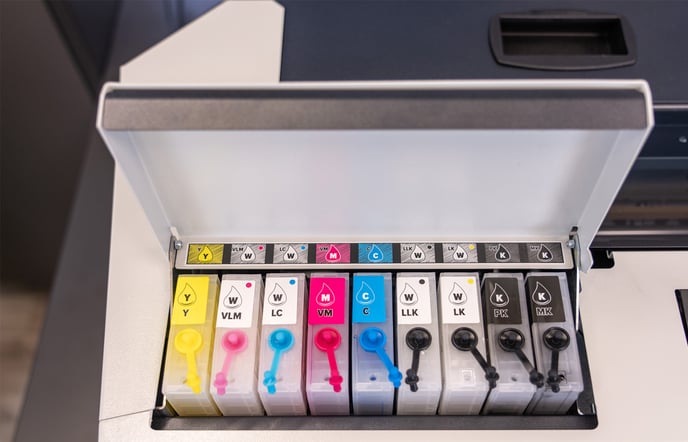
Install cartridges in the correct socket and close the cover. You need to find the proper configuration and make sure they are gripped properly.
Power ON
Step 1
Press the power button and then follow the instructions on the Platen Control panel to set time, date and temperature format. In the first boot up you will be asked to set the exact time, the date format and then the exact date.
Step 2
Set the way temperature is displayed, regarding Fahrenheit or Celsius degrees.
Step 3
Wait until the table moves to the printing position.
Step 4
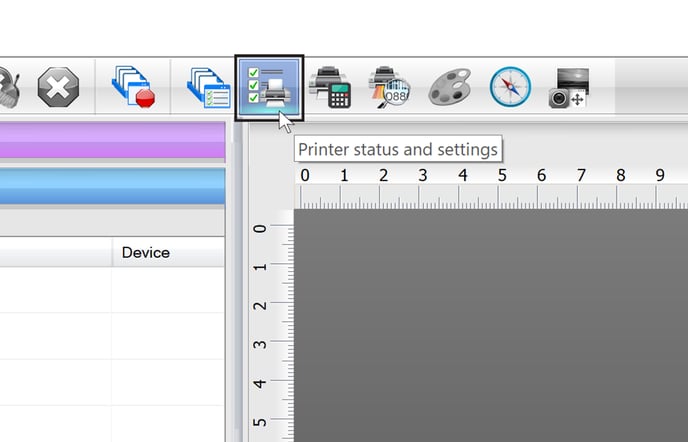
When the printer is on Ready Status, connect Texjet® shortee2 from the USB labeled port at the printer, to the PC. Open the Digital Factory Apparel Polyprint Edition and select Printer Status and Settings from the top bar.
Note: Follow DFA v10 installation guide for proper installation of the software.
Digital Factory Apparel Polyprint Edition v10 Installation guide
Step 5
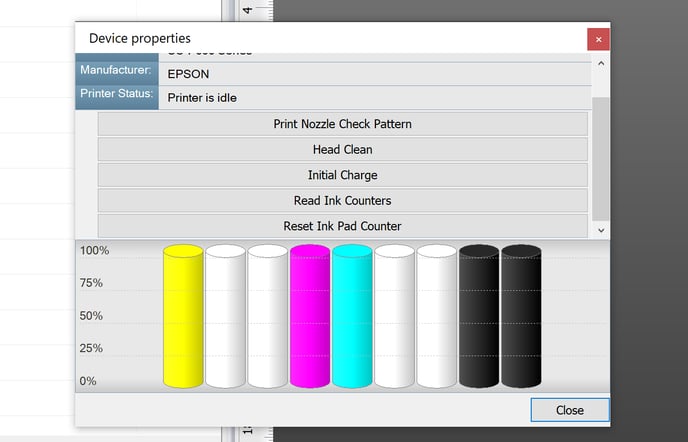
Click on the Initial Charge to start the Ink charge procedure.
Caution: Ink charge takes about 10 minutes, so do not turn off or unplug the TexJet shortee2 while ink charge is running.
Nozzle Test
Step 1
Eject the platen in the starting position.
Step 2
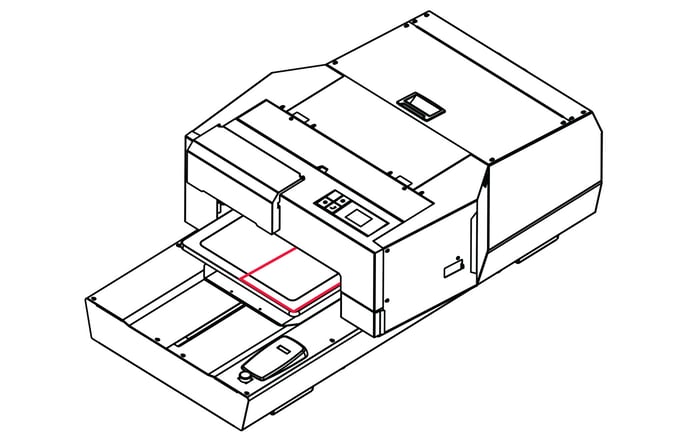
Place one of the transparent sheets that come with the printer, on the left side corner of the 27x40 cm (10.6"x15.7") platen.
Step 3
Although height adjustment is always suggested, either way by pressing the Blue button will send the table inside.
Auto height adjustment feature on TexJet shortee2 & why it is important
Step 4
From the Printhead Control panel tap on the Settings button, then tap Maintenance, Print Head Nozzle Check and Print.
TexJet shortee2: Printhead control panel
Step 5
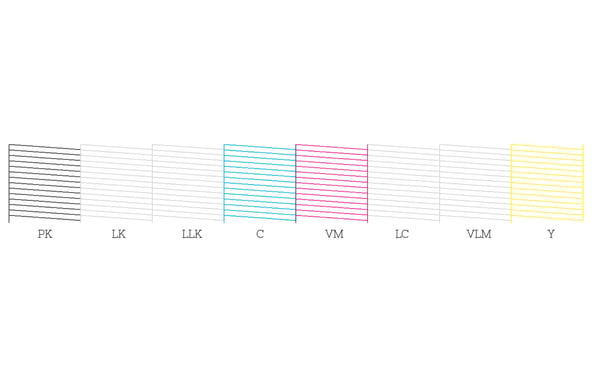
-1.png?height=120&name=Polyprint%20Logo%20(Dark)-1.png)