-1.png?height=120&name=Polyprint%20Logo%20(Dark)-1.png)
A step-by-step guide on how to print at the front and the back of a t-shirt and achieve excellent print quality results on both sides.
Although the process of DTG printing is fairly simple, it offers the user a variety of possibilities that allow him to elevate his portfolio. A constant customer demand is a t-shirt printed on both sides. This means, that apart from the front printed design (which is the usual case), another design, the same or different, will be printed on the back.
This is possible with DTG technology and can be accomplished by simply following the standard rules, along with some tips that will help you achieve outstanding double printed t-shirts that will exceed your customers’ expectations.
In order to print on both sides of a t-shirt follow the detailed steps below:
Step 1
Heat press the garment for 5 sec to help humidity evaporate and to ensure it is wrinkle-free.
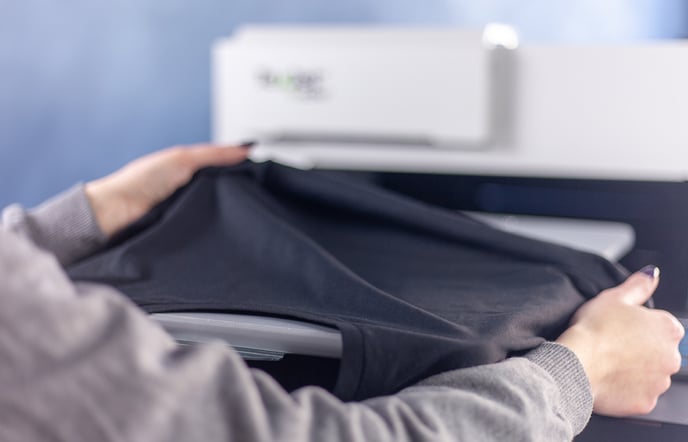
Tip: Because the t-shirt is going to be printed on both sides, it is recommended to wear the t-shirt onto the press platen instead of just placing it on top, in order to avoid the marks that will be created in the back of the fabric, due to the press foam.
Step 2
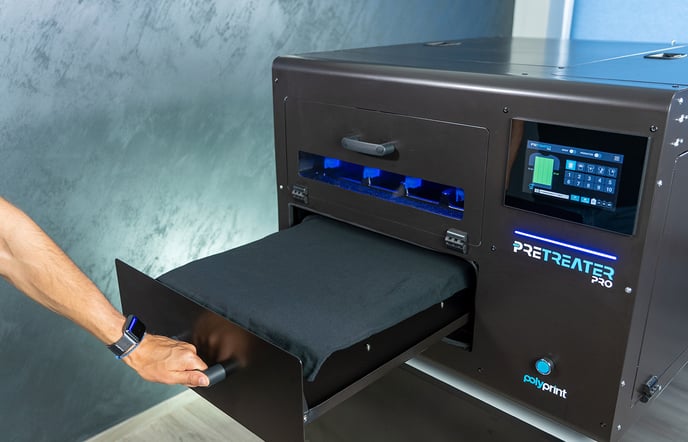
If printing on dark-colored garments, synthetics or you just want to boost the print’s vibrancy on white fabrics, apply the pretreatment solution to the print area with an automatic pretreatment machine, like PreTreater Pro, or manually by using a hand sprayer.
Check the textile applications Polyprint's liquids are destined for: Pretreatment liquids for dark and light garment printing.
Step 3
Wear the t-shirt onto the press platen and heat press it again in order to fixate the pretreatment liquid. Lay a protective sheet paper onto your fabric.
Note: These sheets should be disposed after being used a few times. This avoids build-up of residue on the sheets that leads to staining or discoloration and wrinkles, which are created from the humidity and can result in an uneven printing surface.
Learn how to dry the pretreatment liquid when using a heatpress or a dryer.
Step 4
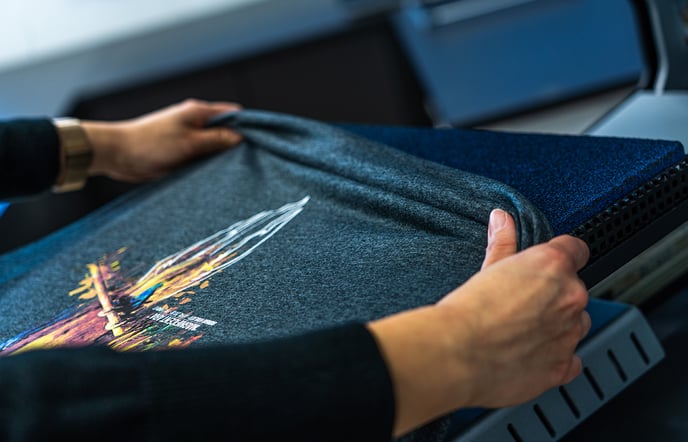
Choose the desired design and make adjustments that suit your needs through the RIP software. Load the garment onto the printer’s platen by wearing it. This way, you make sure that no ink will pass through to the back of the t-shirt and stain it. Proceed with printing.
Step 5
Gently remove the printed garment and place it onto the curing equipment. You can use a heat press or an oven dryer. If a heat press is used for the fixation of the print, the “wearing technique” of the t-shirt must be repeated. Lay a protective sheet upon the print and proceed to cure the fabric in the temperature and time that is suggested for the set of inks that you are using.
Step 6
Remove the t-shirt from the curing equipment and let it cool for some seconds. Then proceed to wear the t-shirt again on the heat press, this time with its back, and repeat Step 1, in order for the fibers to be flattened out and a smooth surface to be created.
Step 7
Follow the exact same procedure as the one described in Steps 2 through 5, making sure that every time you are wearing the t-shirt on the corresponding platen instead of just placing it on top. This way you protect the print on the front by avoiding unnecessary heat.