-1.png?height=120&name=Polyprint%20Logo%20(Dark)-1.png)
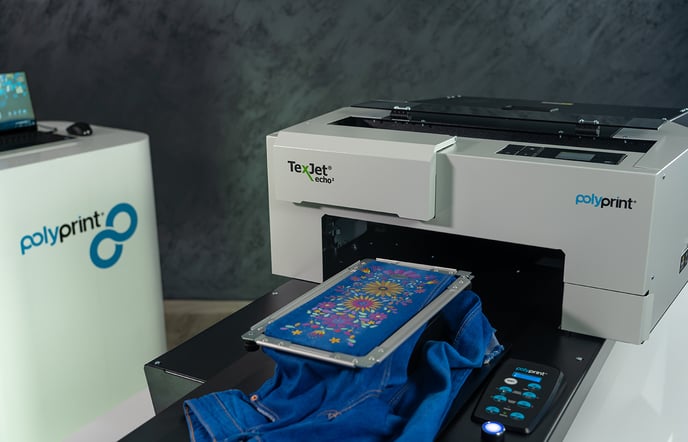
A guide for printing directly on denim fabric with the use of the TexJet series printers.
Denim textile is a fabric staple and comes in all weights, washes and colors. Most denim yarns’ composition is made of cotton which makes it an ideal substrate for digital printing. This way, any design that you have in mind can easily be reproduced on jean textile leading to unique custom products.
Denim clothing can be dyed in a variety of colors, meaning that if you plan on printing on it you must pretreat it accordingly. If the textile’s color is white or light-washed then you can print directly on it or pretreat it with a solution, such as Texjet Inks - Pretreatment for Lights which boost the inks’ vibrancy, resulting in a more vivid print. In the case of dark or black denim, the Texjet Inks - Pretreatment for Darks must be applied, in order for the inks to be visible and not soak into the fabric.
Tips:
- If the denim fabric contains synthetic fibers, for example elastane, its better to pretreat it with a solution to make sure the ink stays put, even if it's light-colored.
- The pretreatment quantity, must be increased when compared to a t-shirt, since denim is way thicker. You can treat it like a hoodie and double the amount of the pretreatment solution.
Depending on the denim clothing you use, the printing procedure can occur with two alternative options:
The first option is utilizing the denim fabric beforehand sewing. This allows you freedom of movement, as you can adjust the fabric easily and print according to your needs. For example, you can print on the garment, cure it and then stitch it in a way that the print appears even on the sewed areas.
The second option is “wearing” the fabric on the printer’s platen. This method is usually followed when substrate are jean trousers and you want to print on the leg area or in the case of jean jackets’ sleeves. With this way, you can print only on the surface available, meaning that if you want to print on both sides of the leg or the sleeve, you should print on one side first, then cure it and repeat the process on the other side.
In order to print on jean clothing successfully, follow the detailed steps below:
Step 1
Mount the suitable platen on the printer, in accordance with the dimensions of the fabric and the design that you want to print.
Tip: For jean trousers or jackets' sleeves there are two suitable platen options, The Sleeve platen with dimensions of 14x30cm (5.5”x11.8”) and the Long Sleeve platen with dimensions of 11x40cm (4.3"x15.7").
Wear the leg or the sleeve onto the platen, with the excess fabric tucked carefully in the space underneath the platen. In the RIP software, make sure that you have chosen the orientation of your design, in order to print it in the right direction.
Step 2
If the garment is on the thicker side, prepare the platen’s surface with fabric glue, especially in the case that you are using a platen without a frame. By doing this, the denim fabric sticks to the surface and the chance of moving during printing is eliminated.
Step 3
Place the fabric on the platen or wear it in the case that the jean clothing is already sewed. Make adjustments by pressing the fabric on the platen in order to keep the surface flattened.
Step 4
Select the design you want via the RIP software. Make sure that you choose the suitable template for your selected platen size.
Basic printing process with Digital Factory Apparel Polyprint Edition v10
Step 5
When printing is finished, remove the fabric carefully from the platen.
Step 6
Proceed to cure the print using a heat press or an oven dryer.