-1.png?height=120&name=Polyprint%20Logo%20(Dark)-1.png)
The typical dtg process for printing on white and light colored synthetic textile such as polyester and blends.
Man-made textiles, such as synthetic fibers, come in a variety of fabrics such as polyester, nylon, acrylic, rayon etc. Apart from the type, the consistency of the weaving can also vary, meaning that you can come across blends and even tri-blends of both natural and synthetic fibers.
Synthetic fibers are a tricky substrate when it comes to digital printing as they are hydrophobic. This results in the repellence of the water-based inks that are used in most DTG applications, a phenomenon that is visible as ink bleeding through the fibers. For this reason, specifically formulated pretreatment solutions are applied to the garment beforehand printing.
 In case of white and light-colored fabrics made of synthetic fibers like polyester, the use of a pretreatment solution, such as Texjet Inks - Pretreatment for Lights liquid is essential. When Pretreatment for Lights solution is precoated onto the textile, it has the ability to stabilize the inks on the surface of the fabric by stopping the ink bleeding through the polyester fibers.
The whole process consists of three main stages. The first one is pretreating the fabric, the second stage is the printing process and the last one is the fixation of the garment. In order to print on white and light colored synthetic garments successfully, follow the detailed steps below:
Fabric preparation
Step 1
Heat press the garment for 5 seconds to help humidity evaporate and to ensure it is wrinkle-free.
Step 2
Apply the pretreatment solution to the print area. These liquids can be applied mechanically with an automatic pretreatment machine, like PreTreater Pro, or manually using a hand sprayer.
Tip: When printing on synthetic, thin, light-weight fabrics such as t-shirts the recommended liquid quantity is about 20 ml for an 40x60 cm (16.1"x23.6") area. If the thickness of the garment is denser, such as in the case of hoodies, then increase the Polycoating quantity respectively.
Step 3
Heat press the garment again in order to fixate the pretreatment liquid. Lay a protective sheet paper onto your fabric. These sheets should be used a few times and then disposed of. This avoids build-up of residue on the sheets which can lead to staining or discoloration. Proceed to press the fabric in the temperature and time that is suggested.
Printing Process
Step 1
Choose the desired design and make adjustments that suits your needs through the RIP software.
Basic printing process with Digital Factory Apparel Polyprint Edition v10
Step 2
Load the garment onto the printer. Make sure you are using the suitable platen and adjust it properly. The right positioning is crucial in order to get the desired output and not waste any textile.
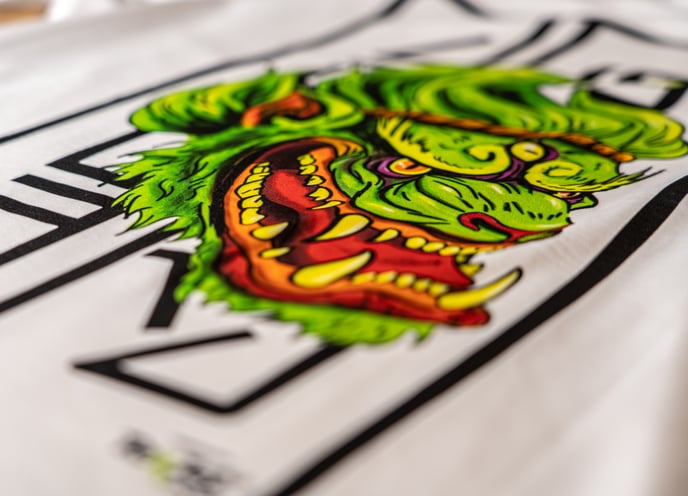
Step 3
Start printing and enjoy the process!
Fixation of the garment
Gently remove the printed garment and place it onto the curing equipment. You can use a heat press or an oven dryer. Proceed to cure the fabric in the temperature and time that is suggested for the set of inks that you are using.
Inks & Pretreatment Liquids: Fixation times and temperatures
Note: Synthetic fabrics are sensitive to heat and sometimes, after fixation, they have a yellowish appearance. For this reason, it is suggested to lower the temperature during curing, about 10 to 20 Celsius degrees.