-1.png?height=120&name=Polyprint%20Logo%20(Dark)-1.png)
The typical routine of printing light colored garments with dtg technology, nailed down in steps.
Printing on light-colored fabrics is the landmark of dtg technology and is considered one of the easiest processes. Nonetheless, you must not take for granted the simplicity of the procedure. There are many variables that must be taken into consideration and some basic steps that should be followed carefully.
When printing on light and white colored garments the substrate’s type and consistency may vary, meaning that you can come across 100% cotton fabrics, 100% polyester and of course blends of natural and synthetic fibers. According to the type of fabric you choose to print on, the printing process as a whole may have some slight alterations.
What types of fabrics are suitable for dtg
Before the actual printing process, you should make sure that your printer is operating properly, the ink cartridges are shaken and the printhead’s nozzles are in good condition (nozzle check). You should make sure that the printer works under the right humidity levels & temperature. In addition, check your curing equipment (heat press or oven dryer) that it functions perfectly.
In general, the whole process consists of three main stages. The first one, pretreating the fabric, is optional in the case of pure cotton garments but essential in synthetics and blends with high consistency of synthetic fibers. The second stage is the printing process and the last one is the fixation of the garment.
Fabric preparation
Step 1
Heat press the garment for 5-10sec to help humidity evaporate and to ensure it is wrinkle-free.
Step 2
Apply the pretreatment solution to the print area. If the substrate is cotton, then the precoating boosts the colors’ vibrancy and the wash endurance. In the case of synthetic and blends, the solution helps the inks to adhere to the surface and not bleed throughout the fibers. These solutions can be applied mechanically with an automatic pretreatment machine or manually using a hand sprayer.
Precoating and Polycoating liquids textile applications
Step 3
Heat press the garment again in order to fixate the pretreatment liquid. Lay a protective sheet paper onto your fabric. These sheets should only be used once per garment and then disposed. This avoids build-up of residue on the sheets which can lead to staining or discoloration. Proceed to press the fabric in the temperature and time that is suggested to each corresponding liquid.
How to dry the pretreatment liquid when using a heat press?
How to dry the pretreatment liquid when using an oven dryer?
Why and how to use curing parchment sheet paper in DTG printing
Tip: Some fabrics tend to get a yellowish color upon drying. In that case, lower temperature in the heatpress is suggested.
Printing process
Step 4
Choose the desired design and make adjustments that suits your needs through the RIP software.
Basic printing process with Digital Factory Apparel Polyprint Edition v10
Step 5
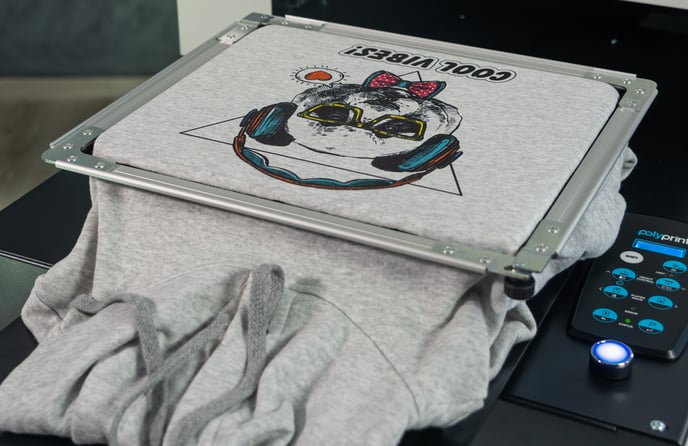
Load the garment onto the printer. Make sure you are using the relative platen and adjust it properly. The right positioning is crucial in order to get the desired output and not waste any textile.
Actual printing is taking place.
Ink curing process
Gently remove the printed garment and place it onto the curing equipment. You can use a heat press or an oven dryer. Proceed to cure the fabric in the temperature and time that is suggested for the set of inks that you are using.
Curing Equipment in DTG: Heat Press vs Oven Dryer
Inks & Pretreatment Liquids: Fixation times and temperatures