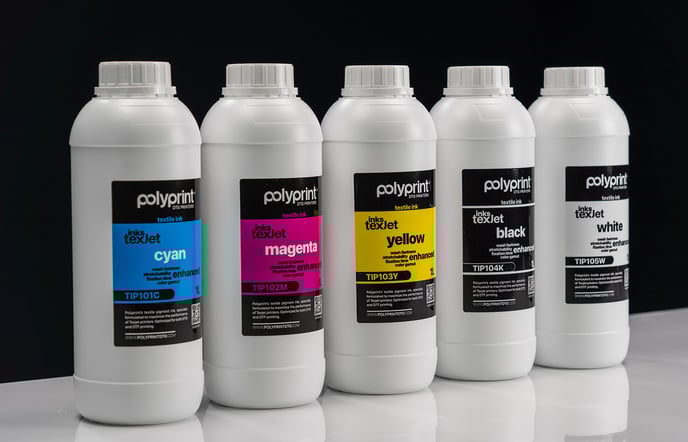
A guide on how to install the new TexJet Inks on the Texjet echo2 and TexJet shortee2 printer models. Safely discharge the system from the current ink set and load the new one.
Texjet® Inks are Polyprint’s new official ink solution. They are specifically formulated to optimize the performance of the whole range of Texjet printer models. Their enhanced characteristics provide stability, superior white coverage with a single pass, high productivity due to fast curing, and boosted wash endurance.

Swap from a previous Texjet Ink formula
If you are already using the Texjet Inks and want to update to the new Texjet Ink formulation, there is no need to purge the system with cleaning solution.
If you are using the refillable cartridges, you simply need to get nine (9) new refillable cartridges and fill them, up to the designated point with the new Texjet Inks formula. Load them in the ink system socket and perform an ink charge.
If you are using the non refillable cartridges, get a whole new set of nine (9) non-refillable cartridges, containing the new Texjet Inks formulation and load them in the ink system socket.
Ink Charge
The Ink charge will fill the ink system tubes with the new formulation, removing at the same time the old ink from it.
- The TexJet echo2 users should use the Adjustment Program for this action. A full guide can be found here.
- The Texjet shortee2 users should initiate the ink charge process via the printing software, Digital Factory Apparel Polyprint Edition. Check the process here.
After the ink charge is completed, perform a nozzle test. Check if all nozzles are present and the color vividness of the inks. If a few to none nozzles are missing and the inks’ vibrancy – as they appear on the transparent sheet - is satisfactory, then you can proceed with printing.
Notes:
- In case of a considerable number of missing nozzles and poor vibrancy of the inks, you can proceed with an extra Head Cleaning. Check again the nozzle test to confirm that you have a proper nozzle check to begin with your printing process.
- Don’t forget to empty the maintenance tank and reset it, in case of TexJet echo2.
Swap from another ink set to the Texjet Inks
To swap safely from another ink set to the new Texjet Inks you must purge the ink flow system with cleaner, so the old ink can be removed from the lines and the new inks to load successfully. For this process all you need is nine (9) refillable cartridges and cleaner solution.
Warning: We do not recommend charging the Texjet inks without cleaning the ink flow system from the previous ink set you were using. Mixing of the ink formulas can lead to unwanted clogging issues.
Cleaner Charge
A cleaner charge is the process of filling the printer’s ink flow route – from the cartridges into the tubes, dampers and finally to the printhead, with maintenance cleaner solution. It is basically a very powerful printhead cleaning.
- If you are a Texjet echo2 user, the Cleaner Charge is performed via the Adjustment Program that is included on the printer’s package after purchase. Please refer to the detailed instructions of the whole process on our guide here.
- For the TexJet shortee2 users, the Cleaner Charge can be executed through the Digital Factory Apparel Polyprint Edition software. Please follow the step-by-step process on the detailed guide here.
Caution: Make sure that the Texjet echo2 maintenance tank is empty and reset after the cleaner charge, so you don't risk any spillage and bringing the tank close to the end of its maintenance life.
Ink Charge
The Ink charge is basically the same procedure as the Cleaner charge but this time ink is used to fill the system instead of cleaner.
- The TexJet echo2 users should use the Adjustment Program for this action. A full guide can be found here.
- The Texjet shortee2 users should initiate the ink charge process via the printing software, Digital Factory Apparel Polyprint Edition. Check the process here.
After the ink charge is completed, perform a nozzle test. Check if all nozzles are present and the color vividness of the inks. If a few to none nozzles are missing and the inks’ vibrancy – as they appear on the transparent sheet - is satisfactory, then you can proceed with printing.
Notes:
- In case of a considerable number of missing nozzles and poor vibrancy of the inks, you can proceed with an extra Head Cleaning. Check again the nozzle test to confirm that you have a proper nozzle check to begin with your printing process.
- Don’t forget to empty the maintenance tank and reset it, in case of TexJet echo2.
-1.png?height=120&name=Polyprint%20Logo%20(Dark)-1.png)