-1.png?height=120&name=Polyprint%20Logo%20(Dark)-1.png)
How to bring on Ready state your NG printer and prepare it for printing.
Ready mode for printing
After the Ink Charge is completed, the Texjet NG printer must be in Ready mode, so you can proceed with a nozzle checking and thus, printing.
STEP 1
Press and hold the Platen Out button on the NG Keypad, so the platen tower is ejected.
STEP 2
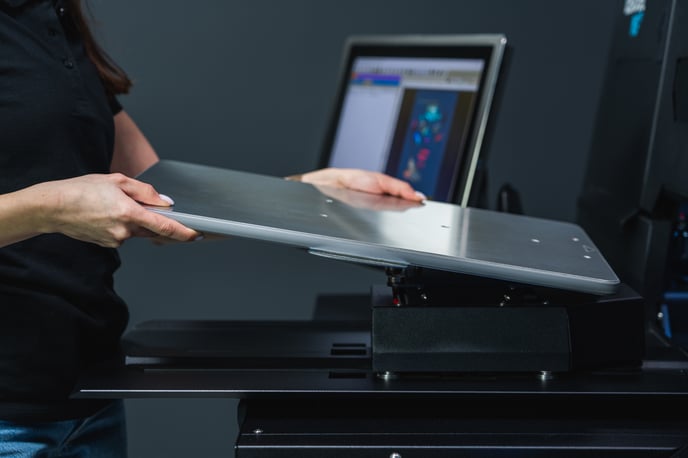 Place the 34x52cm Snap-On platen that came in the box, onto the tower.
STEP 3
On the NG Touchscreen, go to Menu and tap on Power ON/OFF button. Select PC to turn it on.
STEP 4
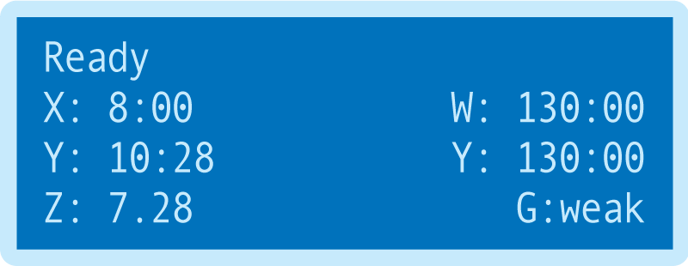 Go to Home Page and make sure that the LCD screen on the NG Keypad is on Ready state. If not press the Menu button.
STEP 5
Proceed with a Nozzle Check and make sure all printheads are firing correctly before proceeding with printing.
STEP 6
Again, make sure that both the Home Page of the Touchscreen and at the LCD screen of the NG Keypad the printer status is at Ready.
STEP 7
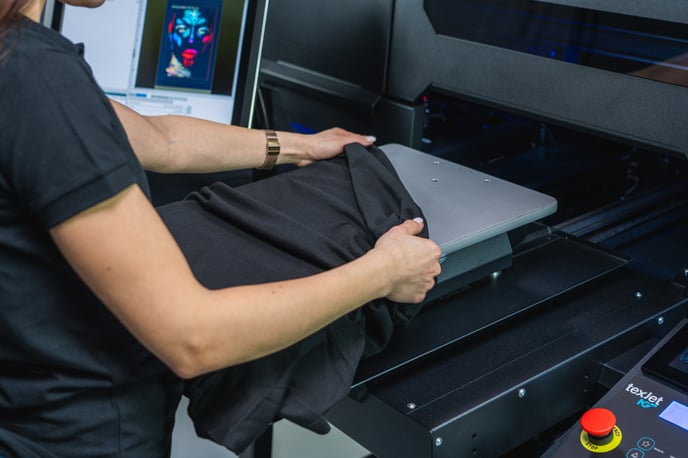 Remove the frame (if already placed) from the platen and wear the garment.
STEP 8
Place the adjustable frame. Make any necessary adjustments, such as loosening or tightening the nobs, plus flat out the garment.
STEP 9
At the Printer Manager software, press the Auto Height Adjustment (red double-pointed arrow) button on the icons’ toolbar. On the window that pops-up select Measure Thickness. After the height adjustment is finished and platen is ejected, select Yes to move the carriage back to home position. Proceed with pressing OK.
STEP 10
The Texjet NG printer is ready for printing with the selected garment. To proceed with actual printing, follow the guides below depending on the printing technique: